Disclosure: This post contains affiliate links. If you buy something through one of them, I may earn a small commission at no extra cost to you. Thank you for supporting Wool & Hook!
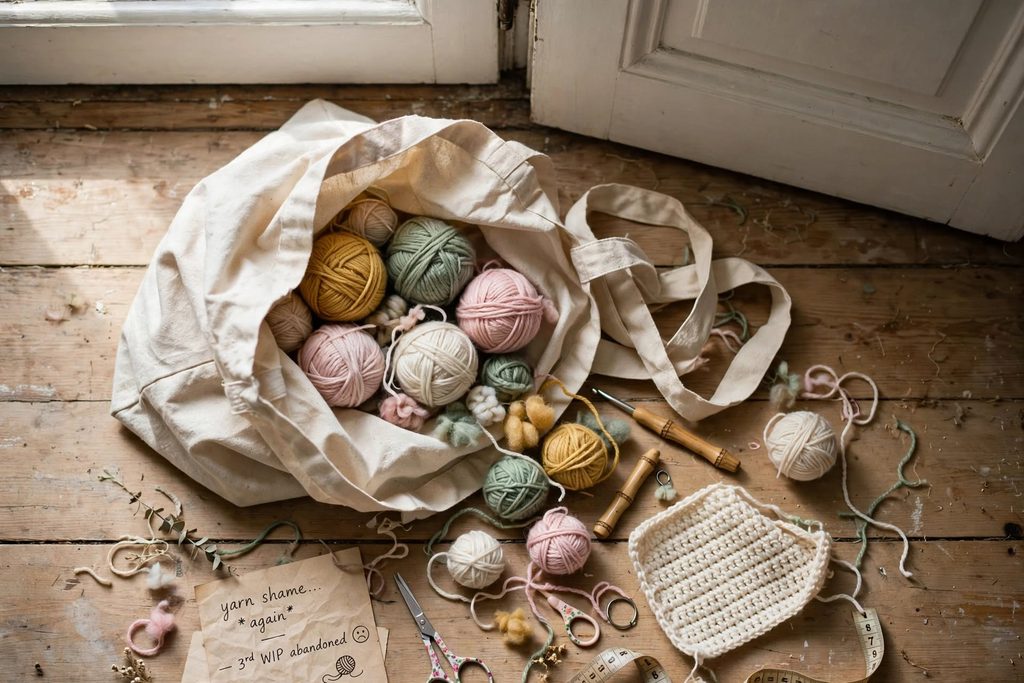
Somewhere in your home, there is a bag of yarn shame.
You know the one. The crumpled tote behind the door, full of balls too small for a scarf and too precious to throw away. Twenty meters of mustard yellow from a cardigan you finished in March. A shadow of sage green that wasn’t quite the sage of the photo. That weird novelty yarn you bought at 1 a.m. and have never explained to anyone.
Crocheters call these “scraps,” which is a cold, accounting word for what they really are: the confetti of every project you’ve ever loved.
Today we’re giving them a job. Coasters are the smallest possible canvas in crochet — one evening, one hook, a handful of leftovers — and they teach you the two skills every crocheter needs on autopilot: working in the round and increasing. Also, they stop your coffee mug from ruining the table. Multitasking is beautiful.
Quick Facts (Before the Kettle Boils)
Table
Copy
| Detail | Answer |
|---|---|
| Skill Level | Confident beginner — great second or third project |
| Yarn | Small amounts of cotton yarn; roughly 20–30 g per coaster depending on yarn weight and finished size |
| Hook | 4.5–5.0 mm (US 7–8) for worsted; 4.0 mm for DK |
| Time | About 30–45 minutes per coaster, once you find your rhythm |
| Finished Size | ~11 cm (4.5″) across with worsted weight — but see the note on gauge below |
| You Make | Flat circles with zero seams. Your mug does the blocking. |
First, an Honest Word About Gauge
Here’s the one thing coaster patterns rarely admit: your coaster will be exactly as big as your tension decides. The same instructions give one crocheter a neat 11 cm circle and another a wavy 14 cm lily pad. Both are valid. Only one fits under a mug.
So make one coaster first and measure it. If it comes out much smaller than you like, go up a hook size. If it ruffles like a salad bowl, you’re making too many increases — go down a hook, or adjust the increase spacing. That’s the entire science of gauge, and a coaster is the friendliest place on Earth to learn it.
You Will Need
- Leftover cotton yarn. Cotton is a practical choice for coasters because it’s durable, washable, and handles everyday warmth better than acrylic. One honest note: a crochet coaster is not automatically a trivet — for very hot cookware straight from the oven, use a purpose-made heat-resistant trivet rather than relying on any crocheted fabric.
- A hook that matches your yarn weight
- Scissors and a tapestry needle
- A mug, for quality control testing
If your stash is looking thin, a small bundle of cotton yarn in coordinating colors is all you need to make a whole matching set.
The Pattern: A Flat Circle in Four Rounds
One coaster. Four rounds. No seams, no sewing, no drama.
The one rule that runs the whole pattern: each round, you add one extra plain dc between your increases. Round 2 has zero plain stitches between increases. Round 3 has one. Round 4 has two. Memorize that sentence and you can crochet this coaster in a power cut.
Set up: Chain 4, join with a slip stitch to form a ring. (Or start with a magic ring if you’ve already made friends with one — both work.)
Round 1 (12 dc): Chain 3 (counts as your first double crochet), work 11 more dc into the ring. Join with a sl st to the top of the beginning ch-3. Tug the tail to close the ring.
Round 2 (24 dc): Chain 3, work 1 dc into the same stitch (that’s your first increase), then work 2 dc into every remaining stitch around. Join.
Round 3 (36 dc): Chain 3 (counts as the first dc), then work 2 dc into the next stitch. Now repeat (1 dc into the next stitch, 2 dc into the next stitch) all the way around. Join.
Round 4 (48 dc): Chain 3 (counts as the first dc), work 1 dc into the next stitch, then 2 dc into the next stitch. Now repeat (1 dc into each of the next 2 stitches, 2 dc into the next stitch) all the way around. Join and fasten off.
Why do the first few stitches look different from the repeat? Because the ch-3 counts as one dc, the round always starts “half a unit” off the pattern. That’s normal in every circular pattern — the stitch count at the end is what tells you it’s right.
Optional edge: Weave in ends. If you’d like a firmer-looking rim, add one round of single crochet or crab stitch (reverse sc) into every stitch. This is optional, and it will add a small amount to the finished diameter.
Lost count? Don’t panic. Count the V’s of each finished round — 12, 24, 36, 48. If your last round has 47 or 49, nobody’s mug will ever know.
The Leftover Yarn Strategy (a.k.a. Controlled Chaos)
Now the fun part: color. Scrap yarn is where coasters stop being kitchen equipment and start being art.
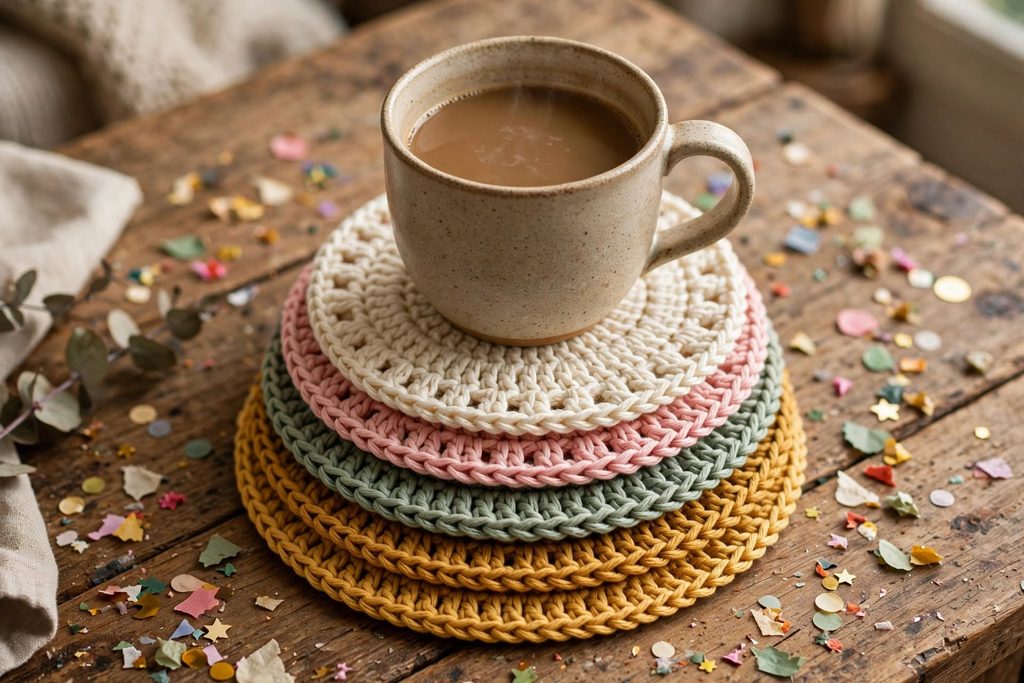
- Confetti mode: change color every round. A coaster with four different colors looks like a tiny target of joy.
- Ombre mode: pull out all your blues, greens, or pinks and grade them from dark center to light edge.
- Duet mode: two colors only — one for rounds 1–2, one for rounds 3–4. Instant “designed on purpose” energy.
- Chaos mode: one coaster, five unrelated scraps. It shouldn’t work. It always works.
Stripes have one rule: join the new color in the final pull-through of the last stitch of the previous round, and carry the unused strand up the inside of the work instead of cutting it every time. Fewer ends to weave in, and your future self will send a thank-you note.
Want a printable, photo-annotated version of this pattern to keep by the sofa? A printable version would make a handy companion for this project.
Troubleshooting: When the Circle Lies to You
Three classic coaster problems, diagnosed honestly:
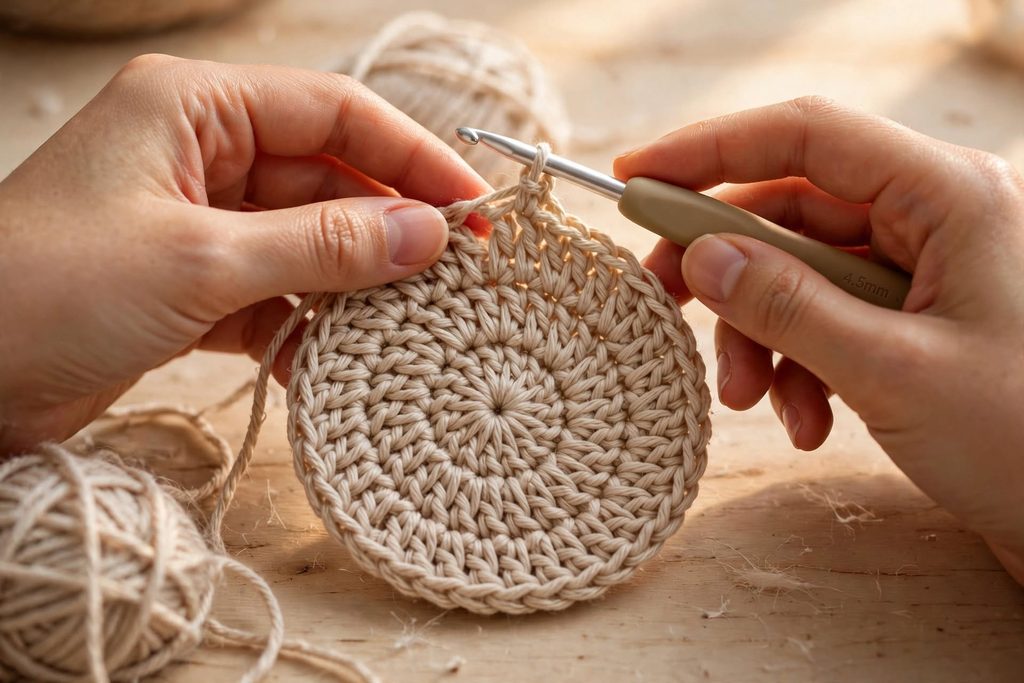
It cups like a bowl. You didn’t increase enough — likely in round 4. Add one more increase round: (2 dc, 1 dc in each of the next 3 stitches) around.
It waves like a doily. Too many increases, or your tension loosened as you relaxed. Try a smaller hook — the change is honestly magical.
There’s a visible “step” at each join. A standing double crochet can give you a cleaner-looking join than a traditional ch-3 start, especially if your tension makes the starting chain stand out. It takes one video and ten minutes of practice to learn, and it upgrades every circular project you’ll ever make.
And the most common beginner problem of all: the center hole. If your ring gapes, work round 1 into a magic ring and tug firmly, or simply crochet over the starting tail twice. The hole closes. Every time.
Care, Because Coasters Actually Work
These will meet coffee, tea, and the occasional red wine incident, so check the yarn label first — if it allows machine washing, cotton coasters are generally easy to care for and often soften with use. Whatever the fiber, follow the label, and avoid high heat in the dryer unless the manufacturer specifically recommends it.
Between washes, if a coaster needs reshaping, lightly dampen it, gently pat it into a circle, and let it dry flat. If your yarn label allows steam, you can use a brief steam block instead — hover, don’t press. Thirty seconds per coaster. Your table will think you bought new ones.
Why This Tiny Project Matters
It would be easy to dismiss coasters as the smallest thing a hook can make. But here’s what actually happens: you finish one in an evening, and then another, and by the third you’ve stopped counting stitches because your hands have learned the rhythm. Working in the round becomes muscle memory. Increasing flat becomes instinct. And all of it happened while making something genuinely useful out of yarn that was otherwise just sitting there, feeling guilty.
Those same fundamentals — working confidently in the round, increasing, counting, and managing tension — show up again and again in bigger projects: blankets, bags, sweaters, and more.
So open the bag of yarn shame. Dig out that mustard yellow. Your table has been waiting for it.