
A textured cotton bucket hat with a full Adult Large pattern, written the way I actually worked through it.
There’s something quietly satisfying about a hat you end up wearing. Not the kind that looks perfect in photos and then disappears into a drawer, but the kind that sits well, feels light, and has just enough texture to feel handmade. That’s the bucket hat I made in Adult Large.
I wanted cotton so it wouldn’t feel heavy, a bit of texture so it wouldn’t look basic, and a brim with enough presence to feel finished. This version gave me all three.
Below is the full pattern the way I worked it, with the notes I wish I’d had at the start.
Materials
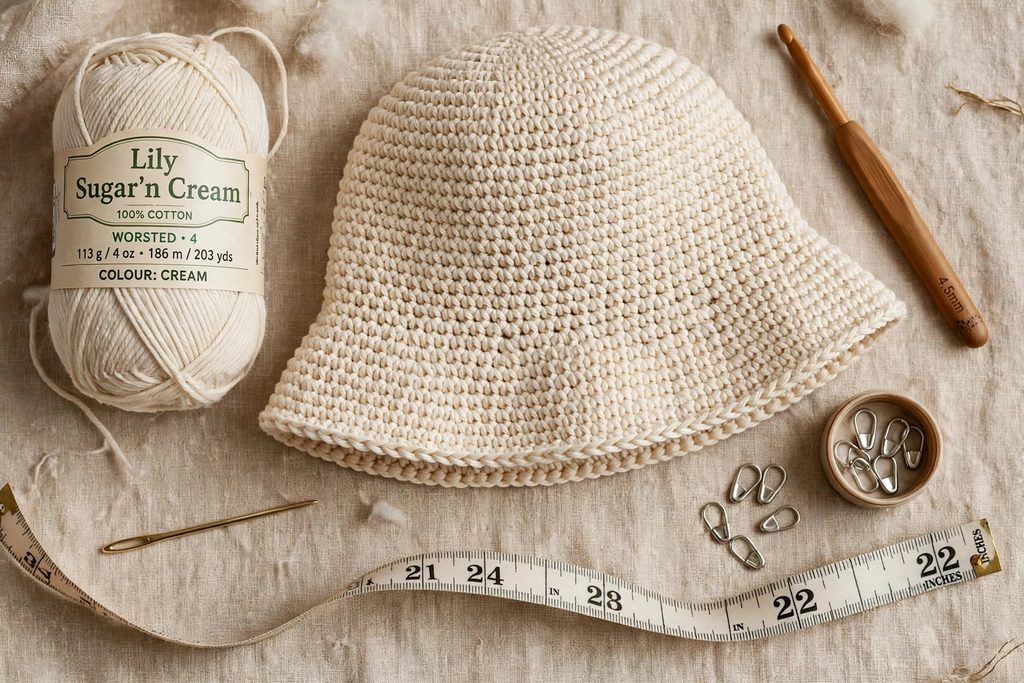
Worsted weight cotton (I used something equivalent to Lily Sugar ’n Cream)
4.5 mm hook
Stitch marker
Yarn needle
About 190 yards for Adult Large
Finished circumference: approximately 22″
Gauge: approx. 14 hdc x 10 rows = 4″ / 10 cm — not critical, but helps to check after the crown
US terminology
The Crown
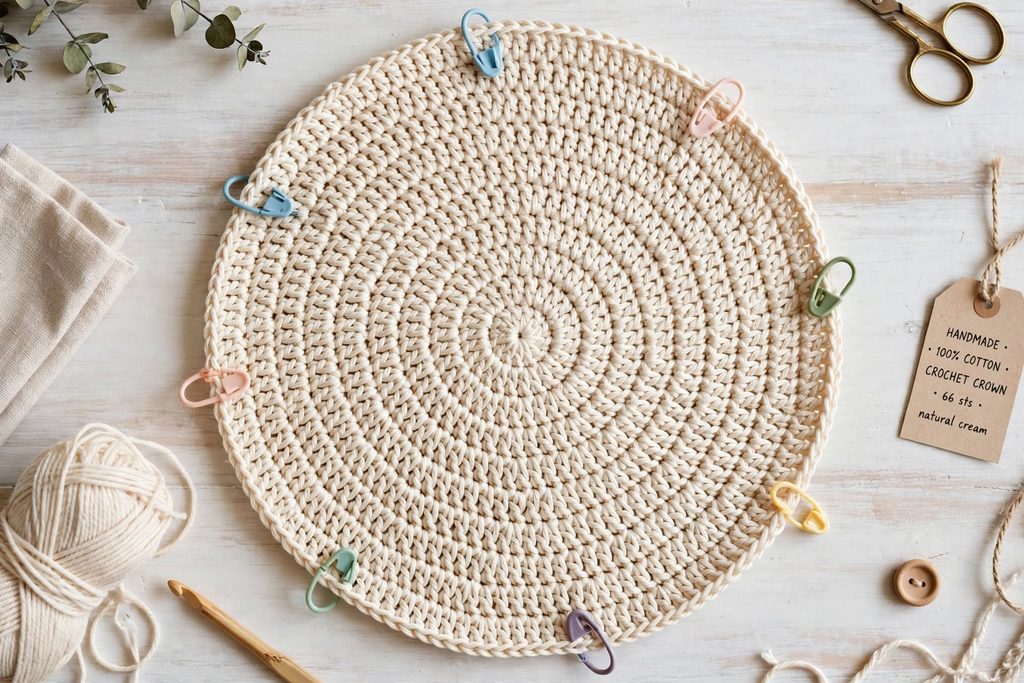
Start with 5 chains and join into a ring.
Round 1: 12 dc into the ring. (12)
Round 2: 2 dc in each stitch. (24)
Round 3: 2 dc in each stitch. (48)
Round 4 (Adult Large only — corrected and tested):
[1 hdc in next 2 sts, 2 hdc in next st] repeat 12 times,
[1 hdc in next 1 st, 2 hdc in next st] repeat 6 times.
You should have 66 hdc. (48 + 18 increases = 66)
Why this way? This distributes 18 increases evenly around the 48 stitches from Round 3, so the circle stays flat and doesn’t turn hexagonal.
This is the foundation. Count carefully here — everything else builds on it.
Moving Into the Texture
Round 5:
Work (1 sc, ch 2, 2 hdc) into the next stitch,
skip 2 stitches, (1 sc, ch 2, 2 hdc) into the next stitch — repeat around.
You should end up with 22 clusters. Turn your work.
This is where the character of the hat begins. 66 / 3 = 22, so the math lines up perfectly.
The Textured Body
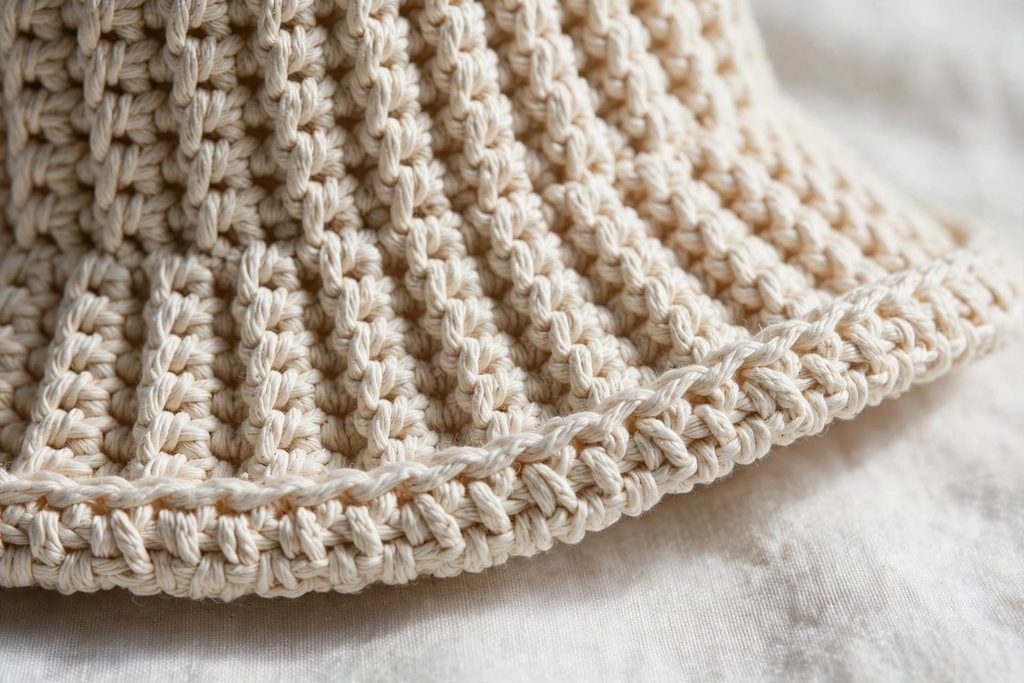
The next two rounds create the raised texture.
Round 6:
Bring the yarn to the front.
Skip the first hdc, work a front post single crochet (fpsc) around the second hdc (mark this stitch), ch 2, 2 hdc into the next ch-2 space.
Skip the next hdc, fpsc around the following hdc, ch 2, 2 hdc into the ch-2 space — repeat around.
Join to the marked stitch and turn.
Round 7:
Do not bring the yarn to the front this time.
Skip the first hdc, fpsc around the second hdc (mark it), ch 2, 2 hdc into the ch-2 space.
Skip the next hdc, fpsc around the following hdc, ch 2, 2 hdc into the ch-2 space — repeat around.
Join and turn.
Repeat Rounds 6 and 7 until the hat measures about 6½ inches (16.5 cm) from the crown.
End on a Round 7 (right side facing).
Once the rhythm clicks, these rounds become steady and almost meditative. The front post stitches are what give the fabric its gentle raised texture.
The Leveling Row (The Part That Needs Care)
After the textured section, the edge is full of small peaks and valleys. The leveling row smooths it before the brim begins.
Work on the right side — do not turn.
Instead of chasing a rigid formula, aim for an even distribution across the 22 clusters. As a guide, work roughly:
2 sc into each ch-2 space
skip the nearest hdc
1 sc into the next hdc
Every few clusters, add an extra single crochet if the edge starts to feel tight or wavy.
You’re aiming for somewhere between 70 and 74 stitches.
70–74 is ideal.
A couple of stitches under or over is fine — you can adjust the increases in the first brim round.
What matters most is that the edge lies reasonably flat and the stitches are evenly spaced.
The Brim
The brim is worked in continuous rounds of single crochet. Keep a marker in the first stitch of every round and move it up as you go. The increases are staggered on purpose so the brim doesn’t turn hexagonal.
Round 1:
1 sc, 1 sc in the next 4 stitches, 2 sc in the next stitch,
(1 sc in the next 5 stitches, 2 sc in the next) — around. (about 84)
Round 2: 1 sc in every stitch.
Round 3:
1 sc, 1 sc in the next 2 stitches, 2 sc in the next,
(1 sc in the next 6 stitches, 2 sc in the next) — until the last 3 stitches, 1 sc in the last 3. (about 96)
Round 4: 1 sc in every stitch.
Round 5:
1 sc, 1 sc in the next 6 stitches, 2 sc in the next,
(1 sc in the next 7 stitches, 2 sc in the next) — around. (about 108)
Round 6: 1 sc in every stitch.
Round 7:
1 sc, 1 sc in the next 3 stitches, 2 sc in the next,
(1 sc in the next 8 stitches, 2 sc in the next) — until the last 4 stitches, 1 sc in the last 4. (about 120)
Round 8: 1 sc in every stitch.
You can stop here for a medium brim. If you want it wider, add another round or two of gentle increases, still keeping them staggered.
Finishing
Use an invisible join if you can, then weave in all the ends carefully on the inside. A light steam or gentle shaping helps the brim settle — don’t stretch it hard.
A Few Things I Learned While Making It
- Move the stitch marker up every round. It’s easy to lose your place once the texture starts.
- Cotton has less give than acrylic, so steady tension matters, especially on the front post stitches.
- The leveling row is the one place where a little judgment is better than rigid counting.
- One skein is usually enough for Adult Large if your tension isn’t too loose.
Final Thoughts
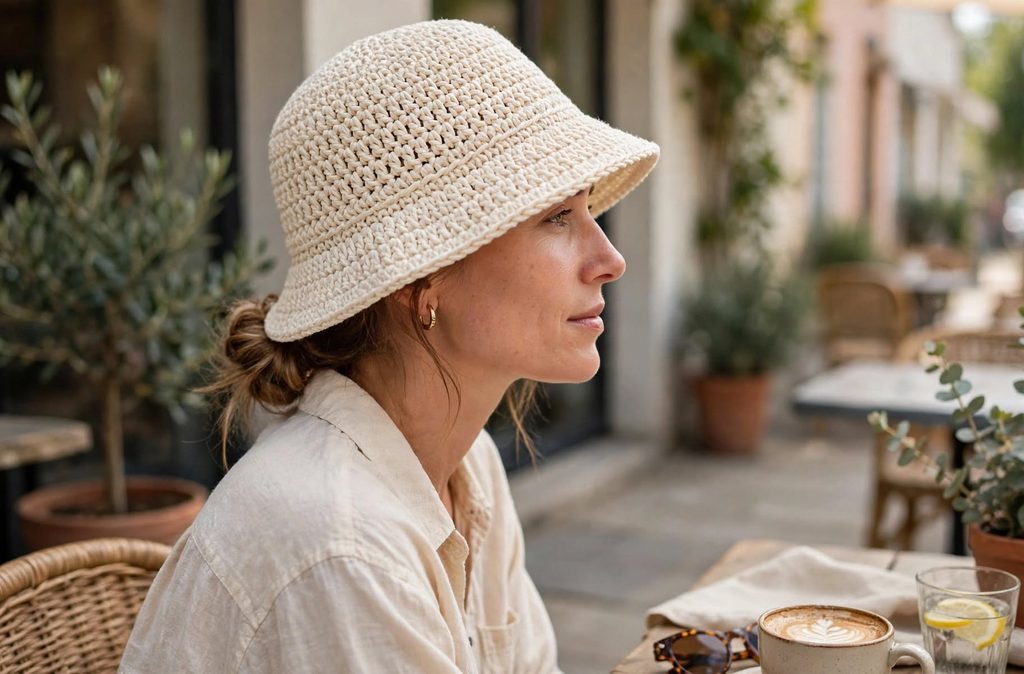
I didn’t set out to make a statement piece. I just wanted a hat I would actually wear. The texture gives it quiet interest, the cotton keeps it comfortable, and the proportions feel balanced.
Sometimes the most satisfying projects are the ones that don’t try too hard. They simply turn out useful, wearable, and good to have made with your own hands.
If you make this one, take your time with the leveling row and let the brim find its shape. The rest of the hat has a way of coming together once those two parts feel right.