This post contains an affiliate link. If you click, you can check out and purchase the Granny Square Crochet Purse pattern if you’d like. New users get 10 free downloads.
Your grandmother was a genius and nobody told you. She sat in that armchair, hook flashing, building squares like tiny tiled floors — and while the rest of the world chased “minimalism,” she quietly invented modular design forty years before made it a religion.
Today we’re stealing her idea and turning it into a bag. Because a granny square isn’t a square. It’s a pixel. It’s a tile. It’s a rebellion against the boring rectangle, one cluster of three double crochets at a time.
The Beautiful Math Nobody Asked For
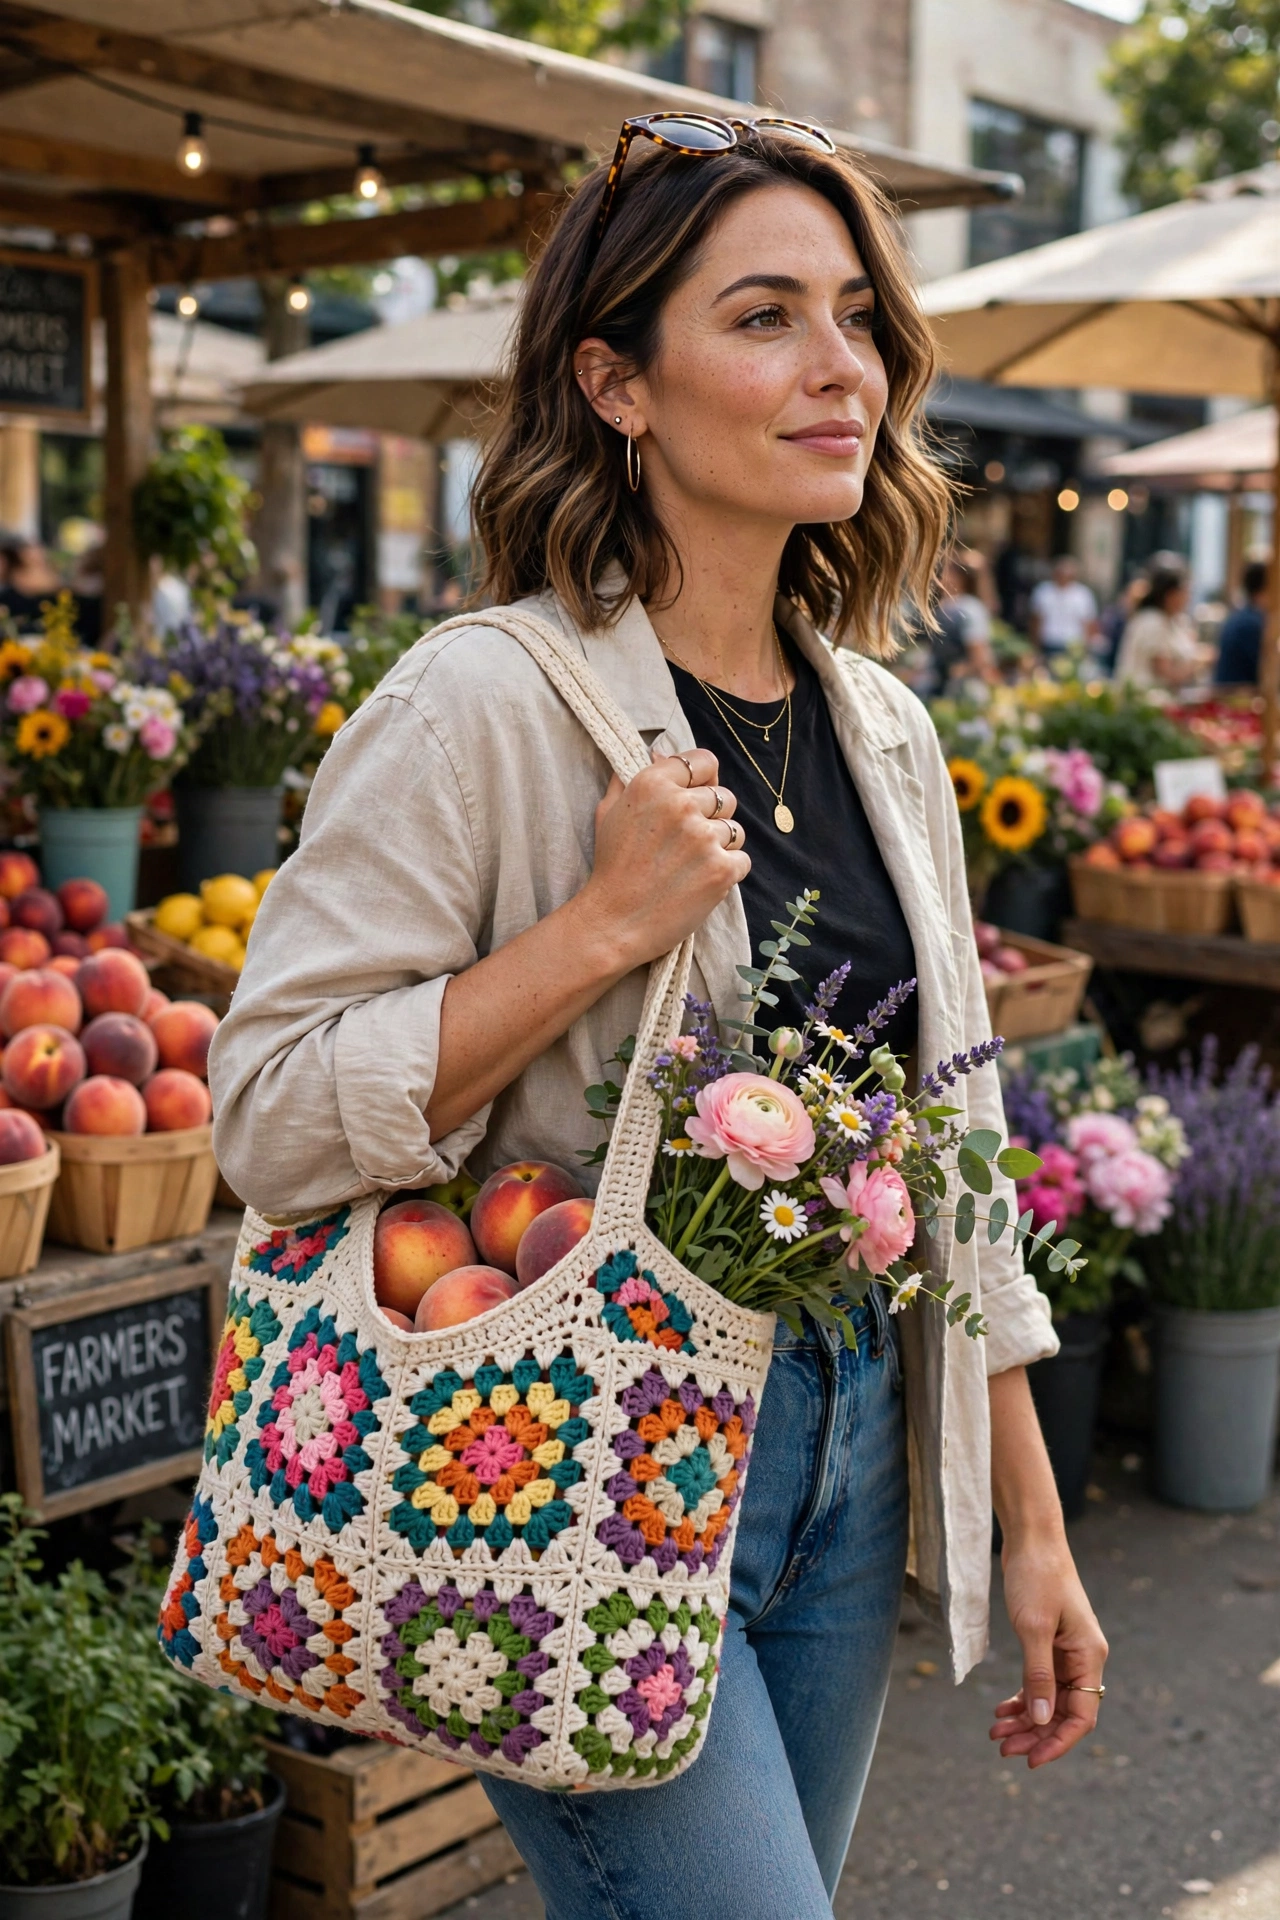
Here’s the thing that will ruin blankets for you forever: a granny square bag is just two pieces of fabric that decided to become architecture. Front panel: 9 squares, arranged 3×3. Back panel: same. Join them, add a strap, and suddenly you’re carrying geometry on your shoulder. The holes in the classic granny square? They’re not flaws. They’re ventilation for your farmer’s market peaches. This is not a joke. This is engineering.
Quick Facts (Before Your Coffee Gets Cold)
| Detail | Answer |
| Skill Level | True beginner — if you can hold a hook, you can finish this |
| Yarn | Cotton DK, roughly 600–700 m total (main color + 2–3 contrast colors) |
| Hook | 4.0 mm (US G/6) — but see the note on gauge below |
| Time | A weekend for most crocheters; beginners may prefer a week of cozy evenings |
| Season | All year — but it screams spring farmers’ markets |
| You Make | 18 granny squares, joined into two 3×3 panels |
| Finished Size | Entirely up to your gauge — one square decides everything |
You Will Need
- Cotton yarn in 3–4 colors. Cotton is the practical choice for a bag because it tends to hold its shape well; some acrylic yarns feel softer and stretchier under load. (Acrylic may sigh and sag.)
- 4.0 mm crochet hook
- Tapestry needle
- Scissors
- Optional: lining fabric + a button, if you like your bags fancy
Love Granny Square Bags Like Mine?
- ✅ Worsted Weight Yarn – only 375 yards
- ✅ 6mm Hook – Easy Project
- ✅ Includes Video Tutorial + PDF
- ✅ Perfect for Market & Everyday Use
New users get 10 free downloads on Creative Fabrica
The One Thing to Do Before Anything Else: Make a Test Square
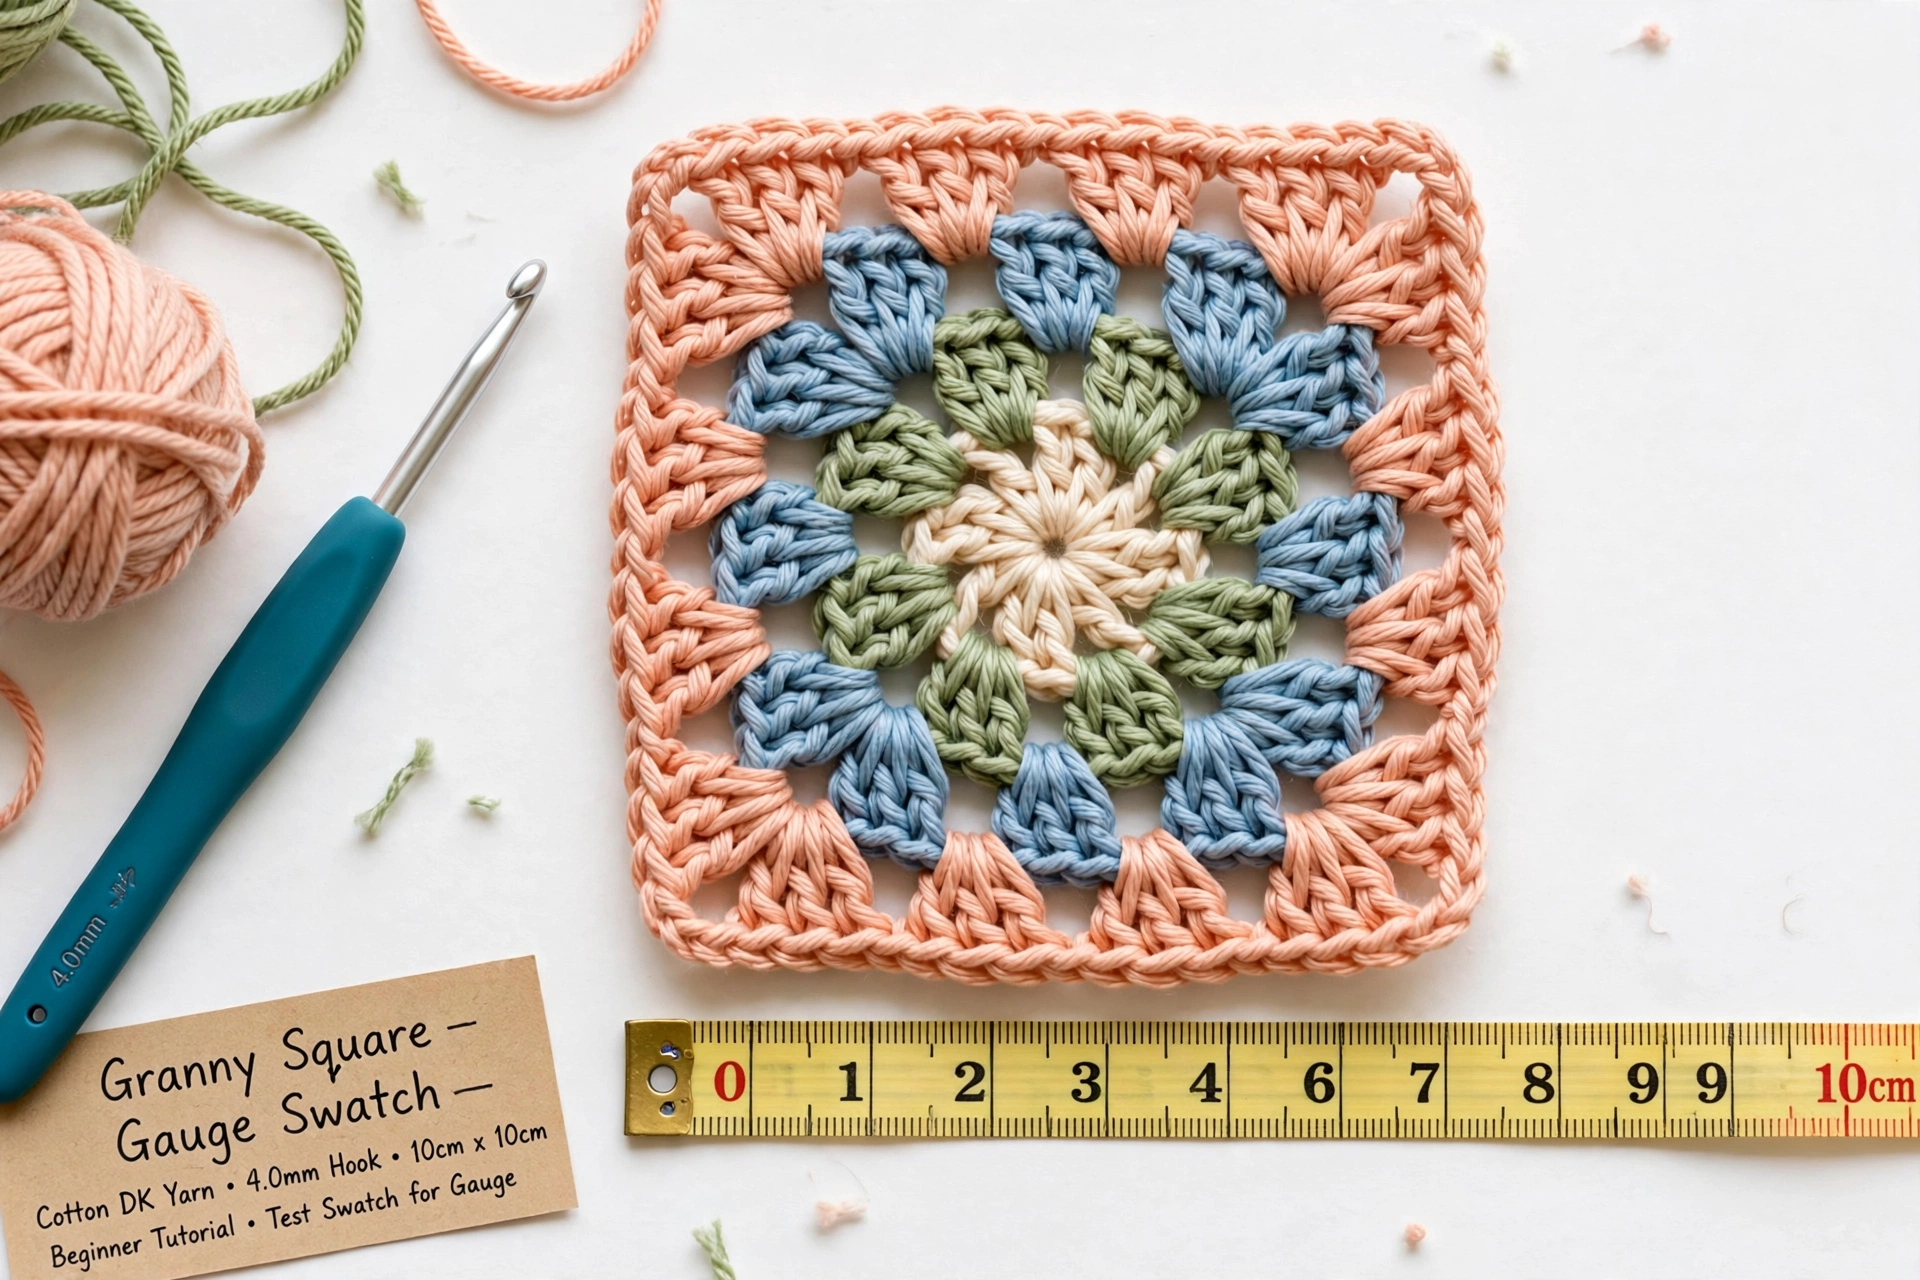
Here’s the secret nobody puts in beginner patterns: your square decides the size of your bag. Two crocheters can follow the exact same instructions and end up with squares 8 cm or 12 cm across, depending on tension, yarn, and hook. One will get a neat handbag. The other will get a tote that could hold a watermelon. Both are correct. Only one is the bag you planned.
So before you crochet all 18 squares, make one. Measure it. With DK cotton and a 4.0 mm hook, most beginners land somewhere around 10–11 cm per square after a light blocking — which gives you a panel of roughly 30 × 30 cm (12″). If your square is much smaller, go up a hook size. Much bigger, go down. That’s the whole science of gauge, and you just learned it.
The Granny Square: A Drama in Four Acts
One square. Four rounds. Zero reasons to panic.
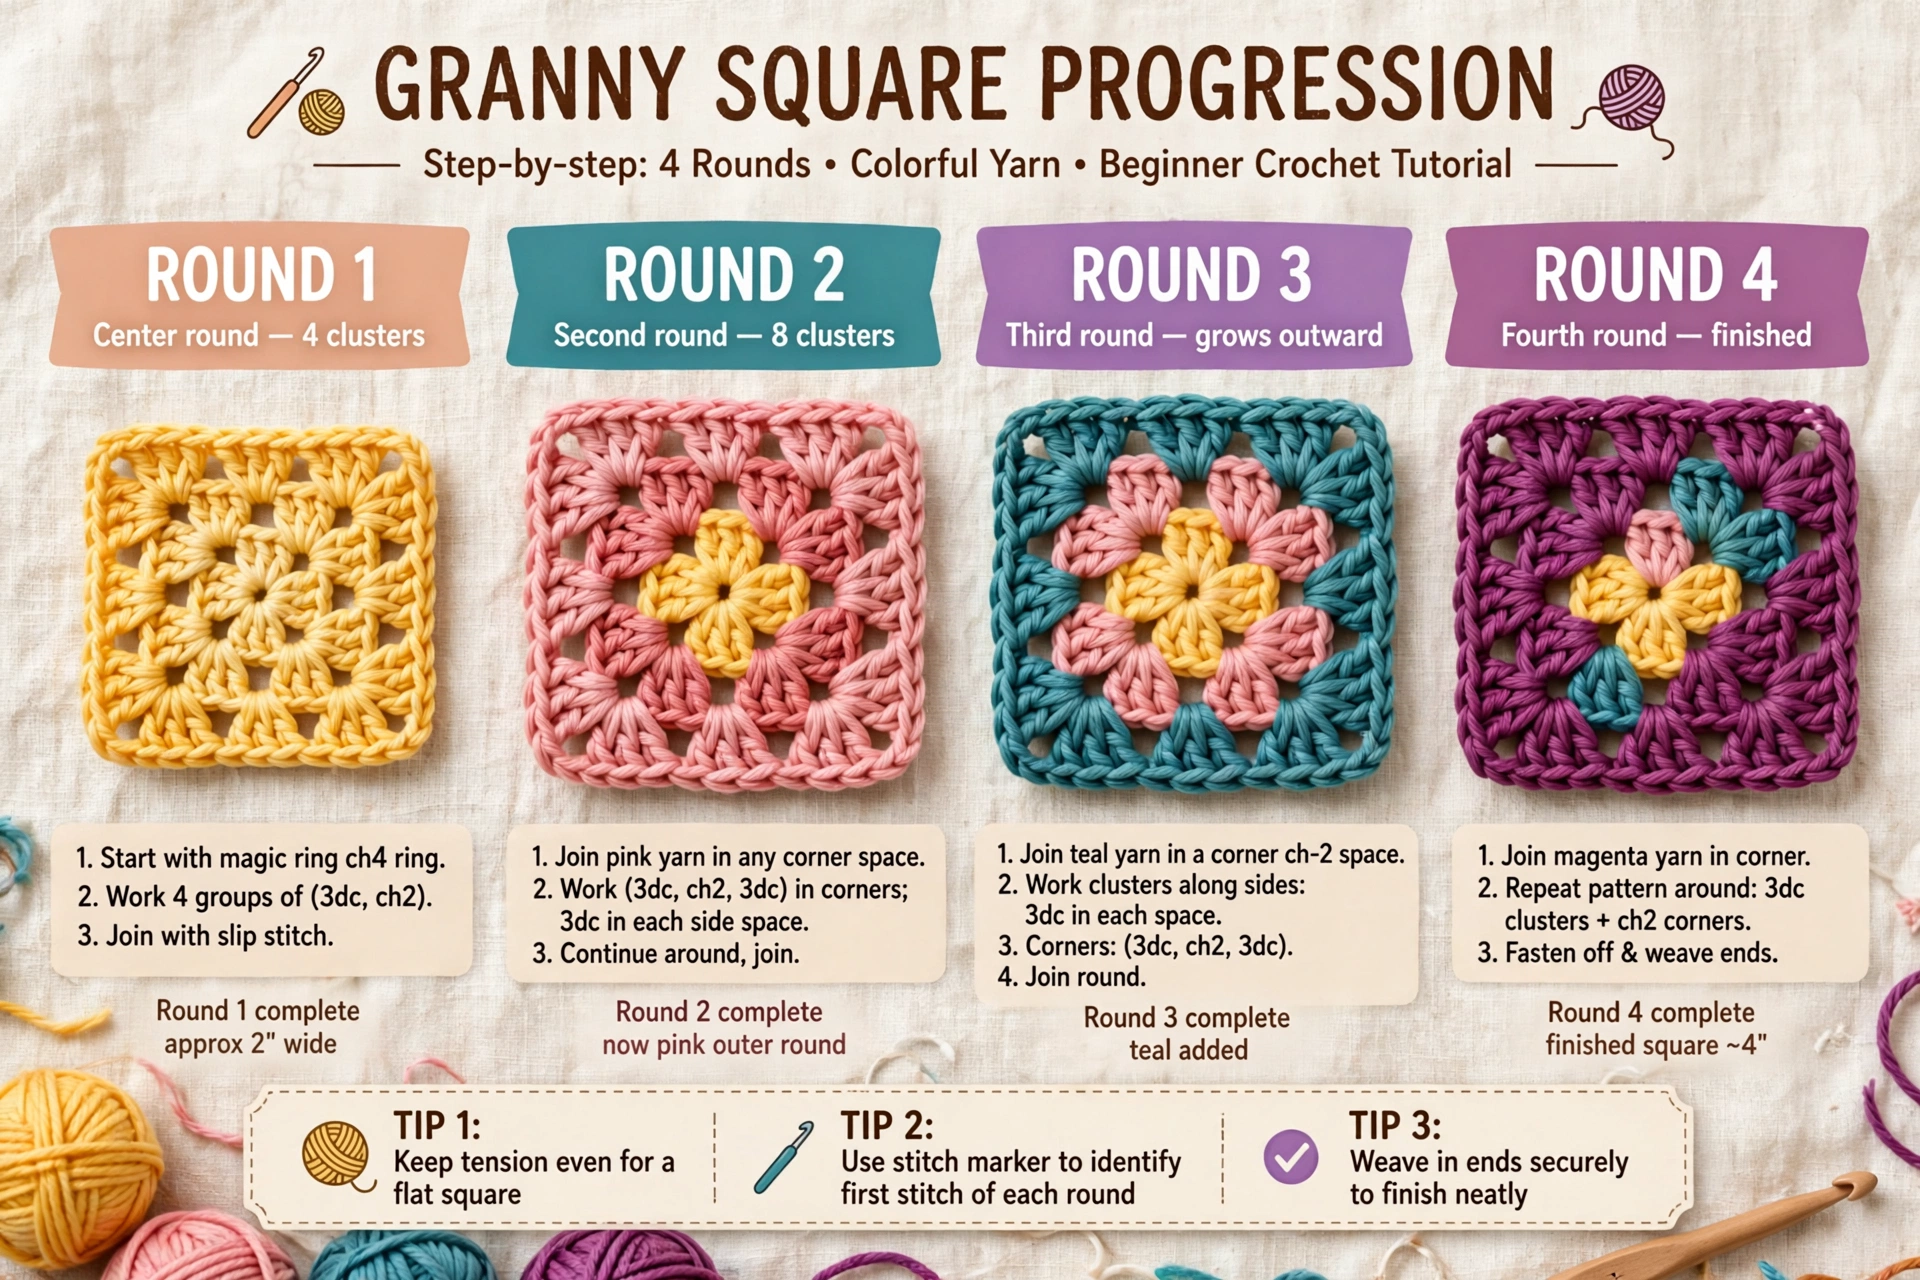
Round 1 (the ring): Chain 4, join with a slip stitch to form a ring. Chain 3 (counts as your first double crochet), 2 dc into the ring, chain 2. Repeat (3 dc, ch 2) three more times. Join with a sl st to the top of the beginning ch-3. You now have a tiny four-petaled flower. Act One: complete.
Round 2 (the corners appear): Join your new color in any ch-2 corner space. Ch 3, then work (2 dc, ch 2, 3 dc) in that same corner — that’s a “corner shell.” In each of the next three corners, work (3 dc, ch 2, 3 dc). Join. Now it’s a square and you can’t unsee it.
Round 3 (the growing): Join a new color in any corner. Work a corner shell — (3 dc, ch 2, 3 dc) — in each corner, and work one 3-dc cluster into each ch-2 space along the sides (on this round, that’s exactly one cluster per side, sitting between the two corners). Join. Fasten off.
Round 4 (the finale): Join your main color. Work a corner shell in each corner, and this time you’ll have two side spaces per side — place one 3-dc cluster in each. Join, fasten off, weave in ends. Repeat 18 times while watching something dramatic.
Lost track of the round? Don’t panic — look for the corner spaces rather than counting every stitch. And the one rule that matters: every corner gets (3 dc, ch 2, 3 dc). Every side space gets 3 dc. If you remember only that sentence, you can make this bag on a train, half-watching a film.
Assembling Chaos Into a Bag
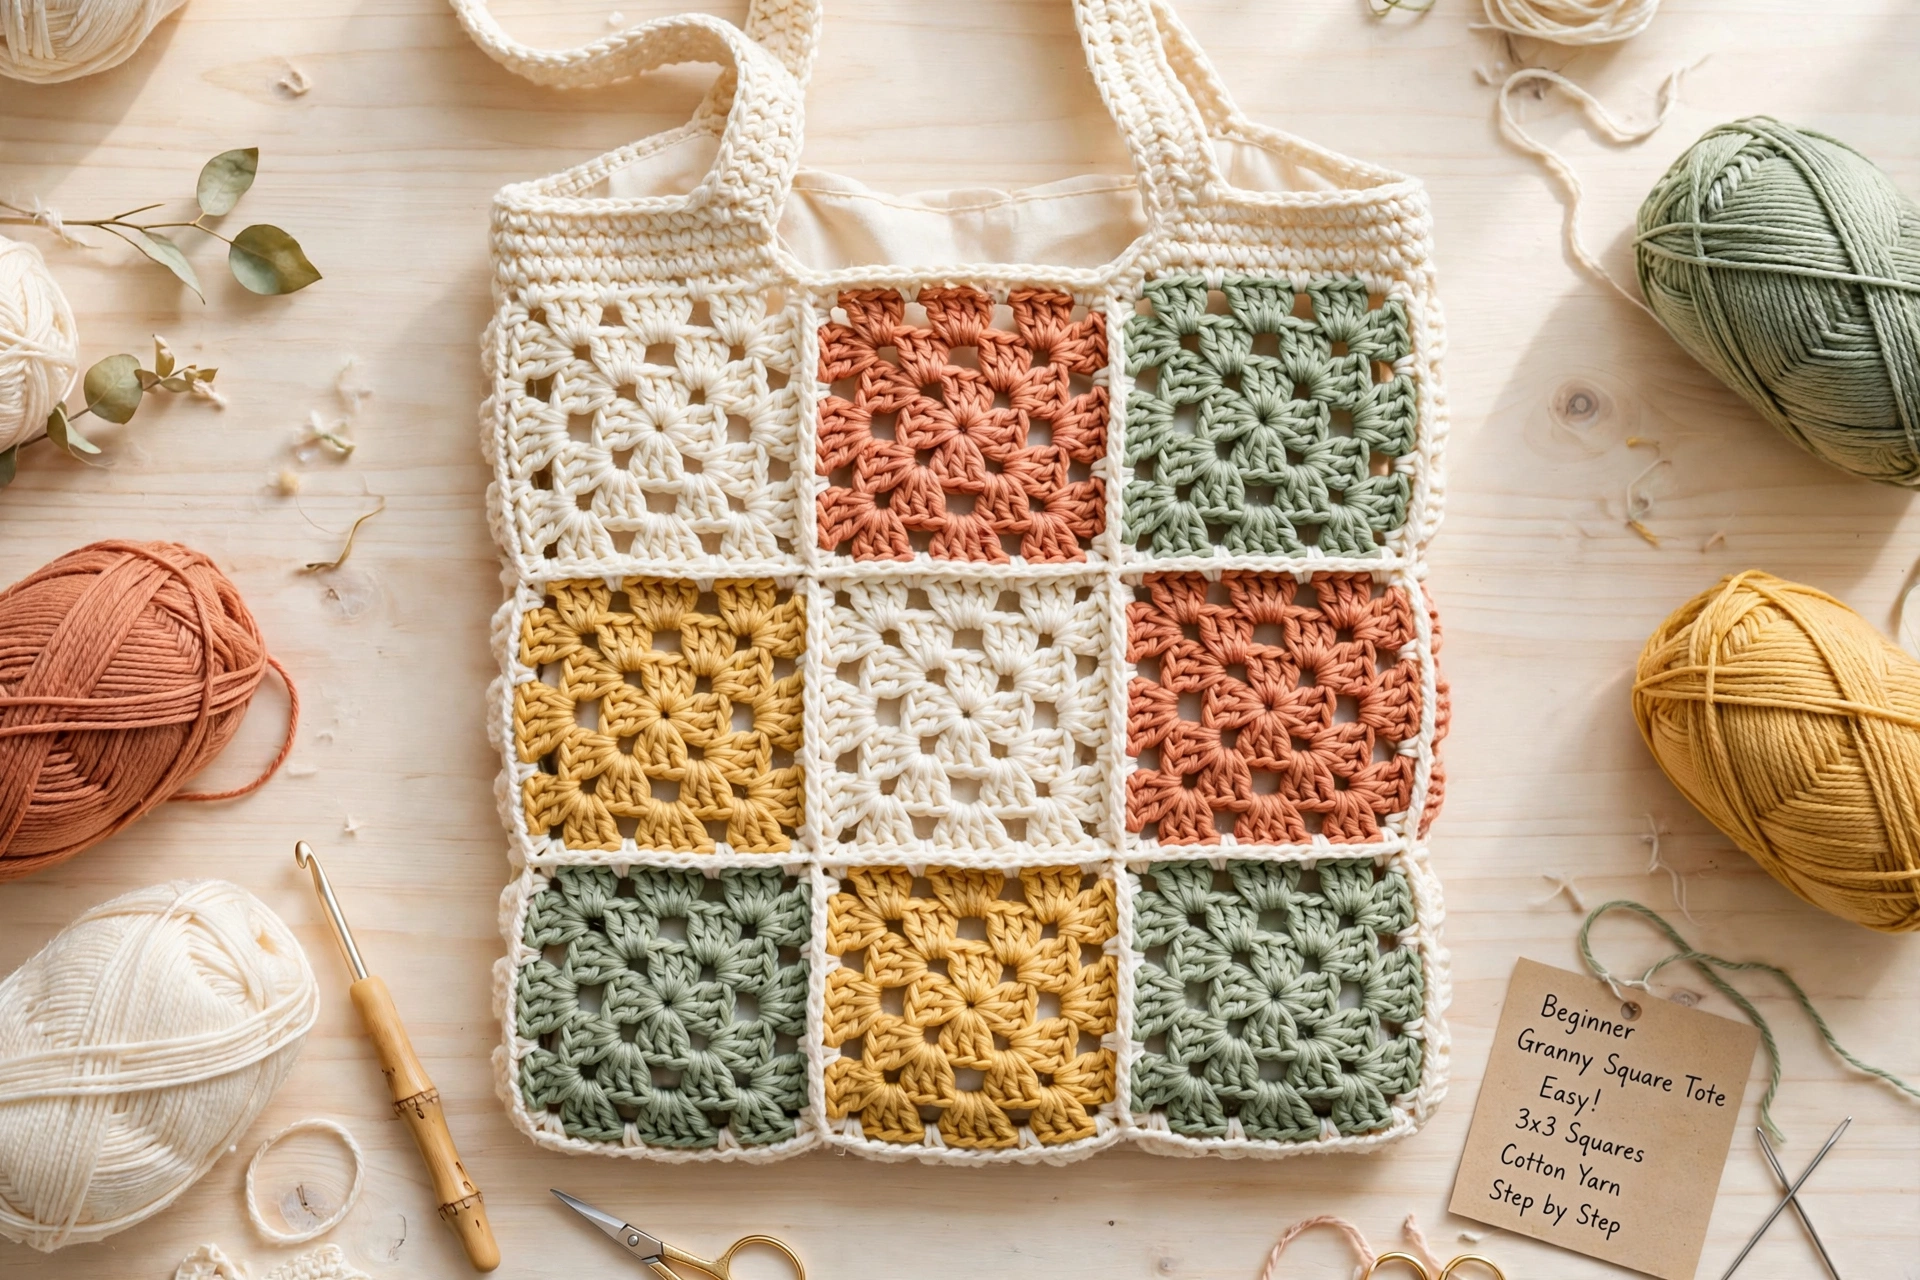
Now the witchcraft. Lay out your 18 squares — 9 for the front, 9 for the back — and play. Checkerboard? Random confetti? One shocking neon square in the middle like a secret? There is no wrong answer, only braver ones.
Joining: Hold two squares right sides together. Slip stitch through both loops along the edges, or use the flat join (sc through both layers) for a neater ridge. Sew your 3×3 grids for front and back, then join the panels along the bottom and two sides, leaving the top open.
The Strap (Or: How to Make Your Arms Happy)
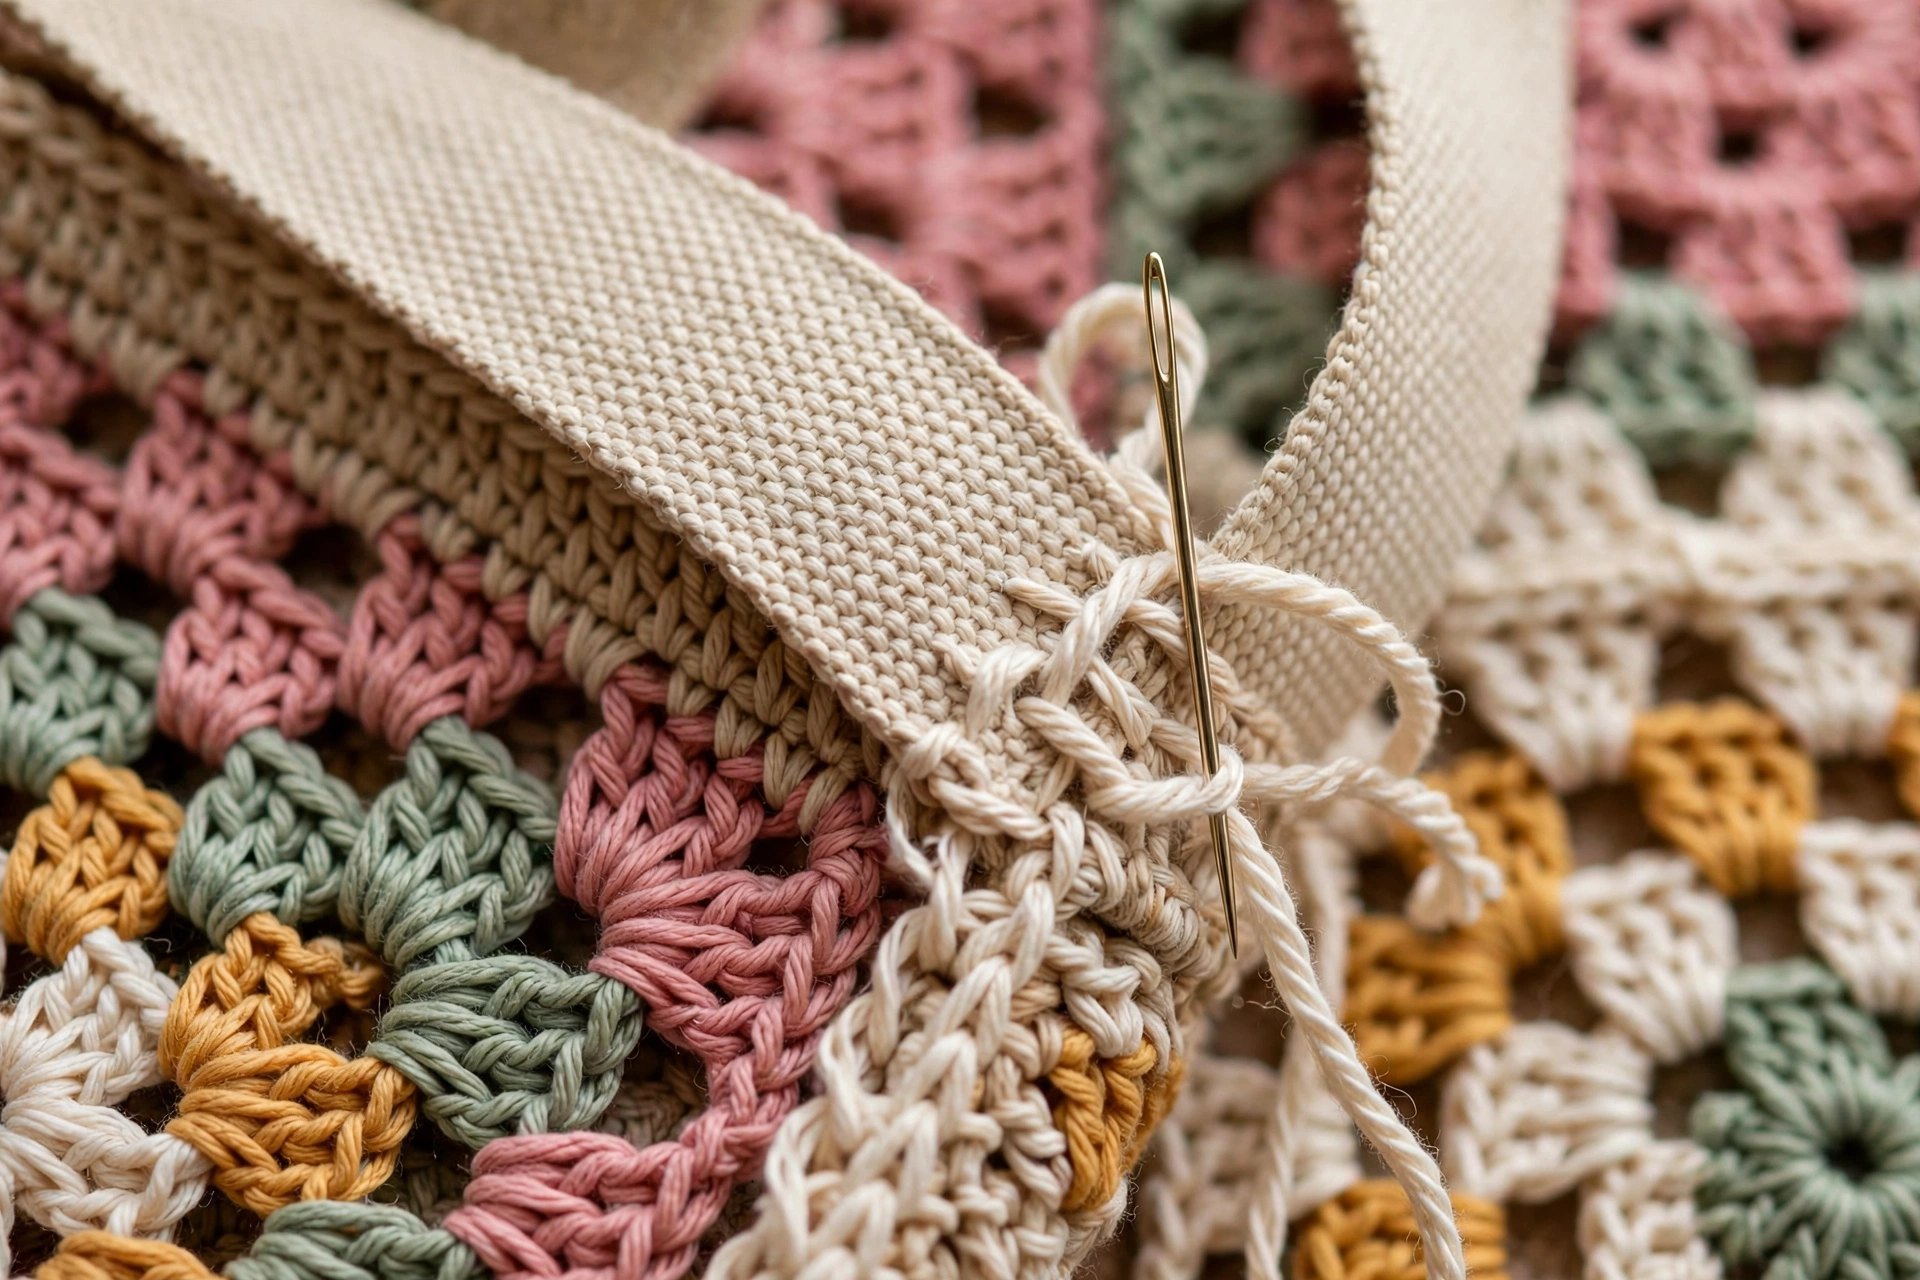
Option A — Crochet strap: For a shoulder-length strap, start with around 90–110 chains, then try it against your body — lightly stretched, it should reach from the top of the bag, over your shoulder, and down to the opposite side. Adjust the chain count until it feels right for you, then work 2–3 rows of single crochet back across for a sturdy band.
Option B — Granny strap: Chain a strip of granny clusters, three wide, until it fits over your shoulder. Maximum chaos, maximum charm.
Attach it so it survives: Don’t just sc the strap on and hope. Sew it securely to the inside of the bag, then reinforce the connection with several extra passes of yarn through both the strap and the top edge of the panel. A bag that carries real things — peaches, books, secrets — deserves real attachment points.
Sew a button at the top center and add a loop — or don’t. Open-top bags are for optimists, and optimists deserve beautiful things.
Why This Pattern Breaks Beginners (In a Good Way)
Most beginner patterns hide the truth: they give you one long rectangle and call it a “scarf-to-bag conversion.” This one teaches you the real skills — working in the round, reading corner logic, joining motifs, finishing edges. Three weeks from now you’ll look at a blanket and think, “Just more squares.” That’s the moment you became a crocheter.
And the best part? Every single square is a small, finished, holdable victory. Bad day? You still made a square. Good day? You made three.
Style Your Squares
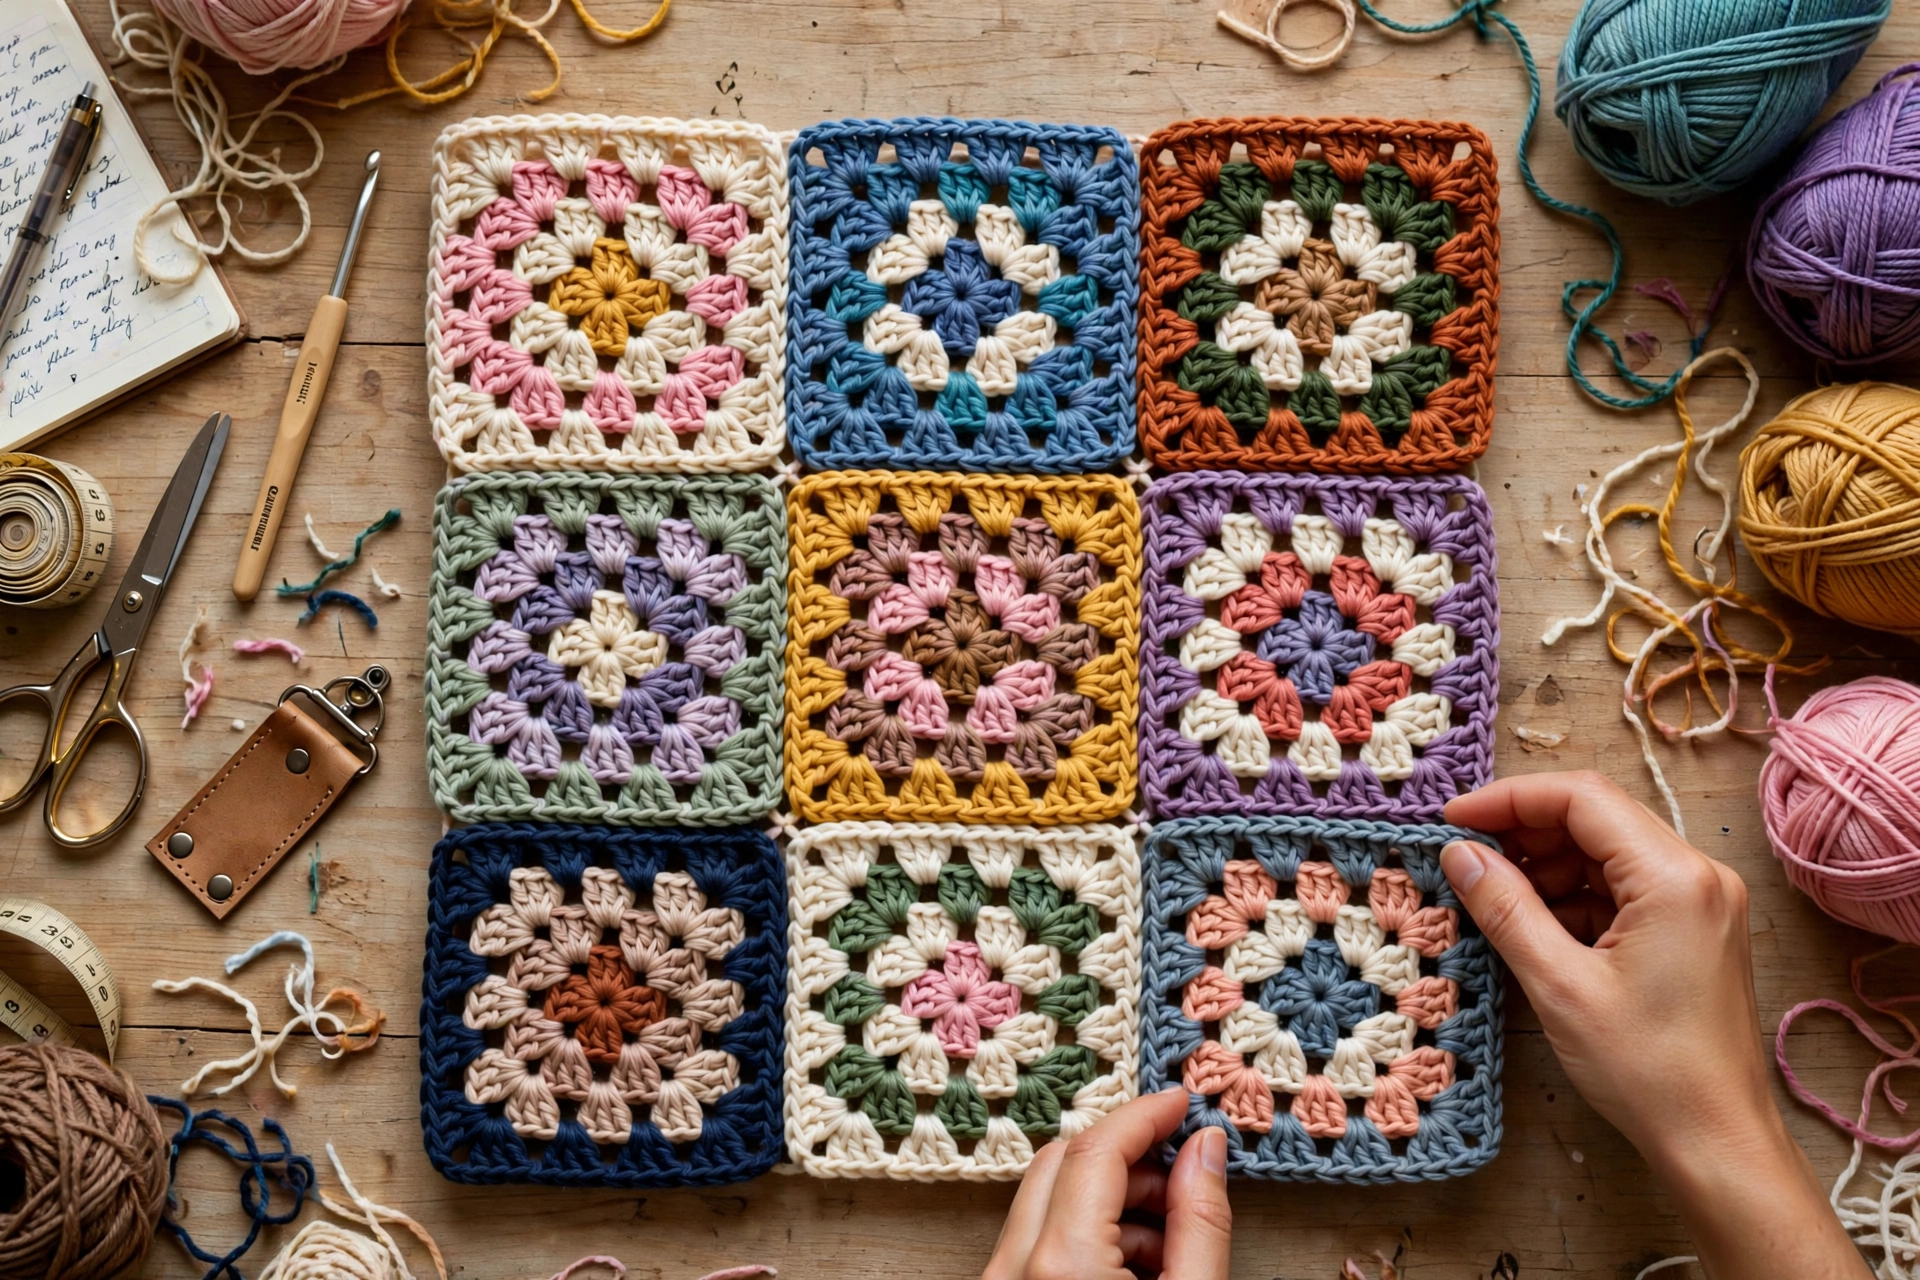
Market mode: sturdy cotton, no lining, peaches approved.
City mode: add a fabric lining, leather strap, and suddenly it looks like it costs $120 in a boutique. You made it for yarn money.
Chaos mode: every square a different color. The bag becomes a mood ring.
Final Confession
I made my first granny square bag expecting “a cute beginner project.” I got a bag that strangers stop me to ask about at the bakery. I got a new way of seeing color. I got a kitchen table full of tiny squares that looked like nothing until — row by row — they looked like everything.
That’s the trick of granny squares. Each one is almost embarrassingly simple. Together, they’re a small architecture of joy.
So chain 4, join the ring, and begin. Your grandmother already knew you could do it.
YOU MIGHT ALSO LOVE: