Or: How I Accidentally Became the Coolest Aunt in the Neighborhood
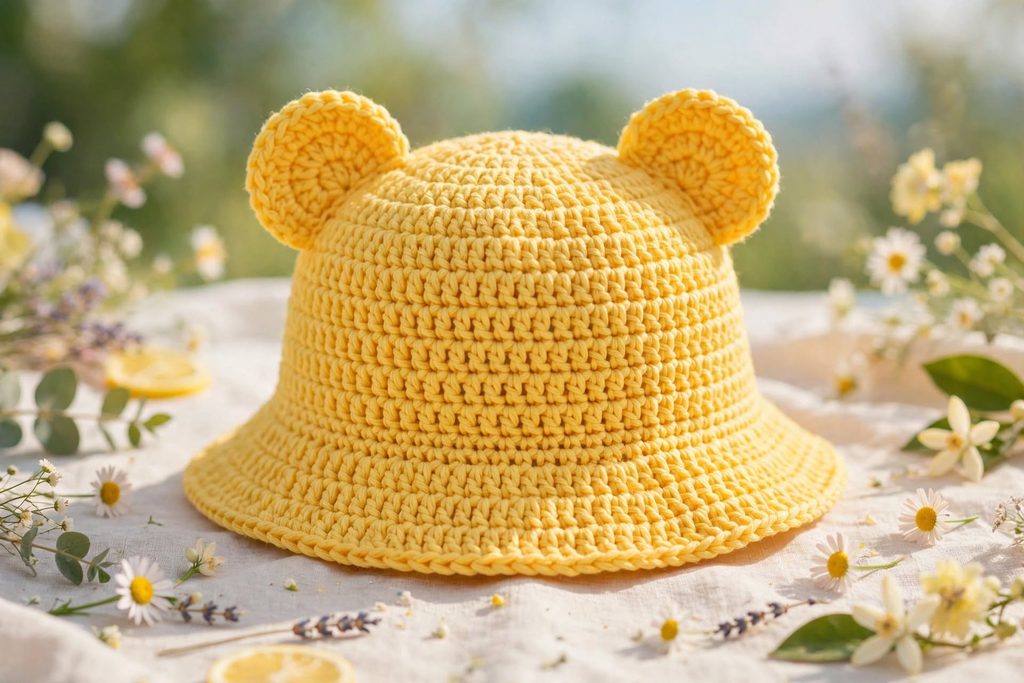
The hat that started it all. Two ears, one sunny color, and a little imagination.
Chapter 1: The Request That Broke My Brain
It started with a simple idea: a summer hat for a little girl. Something cheerful, comfortable, and a little bit silly. Perhaps yellow. Perhaps with ears.
A regular bucket hat? Manageable.
A bucket hat with ears? Suddenly, I was thinking about proportions, shaping, and the surprisingly complicated question of how to make two little ears look adorable instead of accidentally alarming.
That’s the thing about handmade gifts for children. You start with a simple idea, and before long, you’re imagining the expression on their face when they open the box.
You want the hat to be cute, of course. But you also want it to feel comfortable, fit properly, and survive the enthusiasm of a child who might decide that wearing it is only the beginning of the adventure.
So the project began with a color, a shape, and one important design goal: make something that feels as playful as summer itself.
Chapter 2: The Yarn That Set the Mood
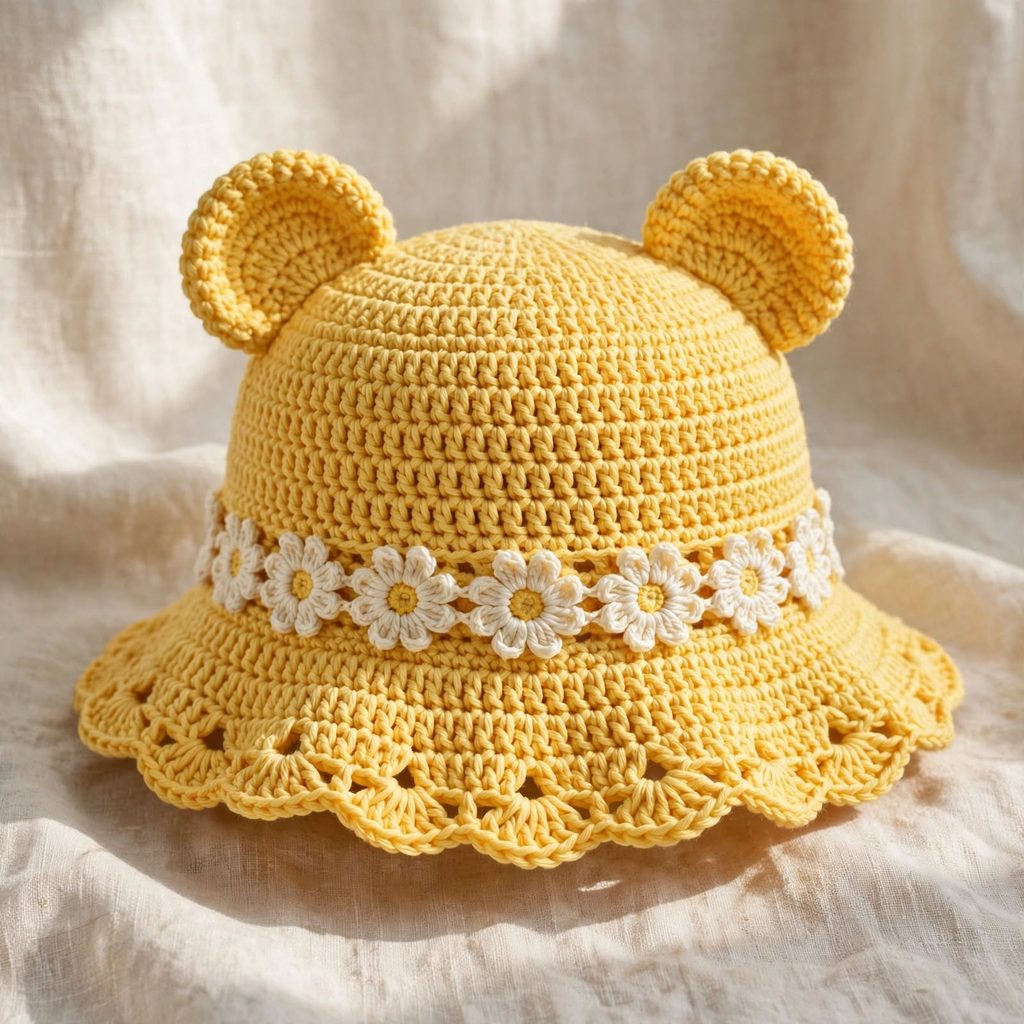
The color of sunshine, lemonade, and the promise of a creative afternoon.
Choosing the yarn is one of my favorite parts of a crochet project. Before the first stitch, there’s already a whole world of possibilities in front of you.
For a summer bucket hat, the yarn needs to do more than look pretty. It should feel comfortable against the skin, hold the shape reasonably well, and suit the intended care routine.
Cotton is a useful option for many warm-weather crochet accessories because it is breathable and available in a wide range of colors. The exact yarn weight and hook size should follow the pattern, though, since they influence the finished fabric and fit.
And then there’s the color.
Yellow can be soft and buttery, bright like a sunflower, or warm like late-afternoon sunshine. For a playful children’s hat, a cheerful shade can make even a simple silhouette feel special.
I like the idea of choosing a color that reflects the person who will wear the finished piece. Maybe it’s their favorite color. Maybe it reminds you of a shared memory. Maybe it simply makes you smile when you see it.
Sometimes that’s reason enough.
Chapter 3: The Anatomy of a Hat With Ears
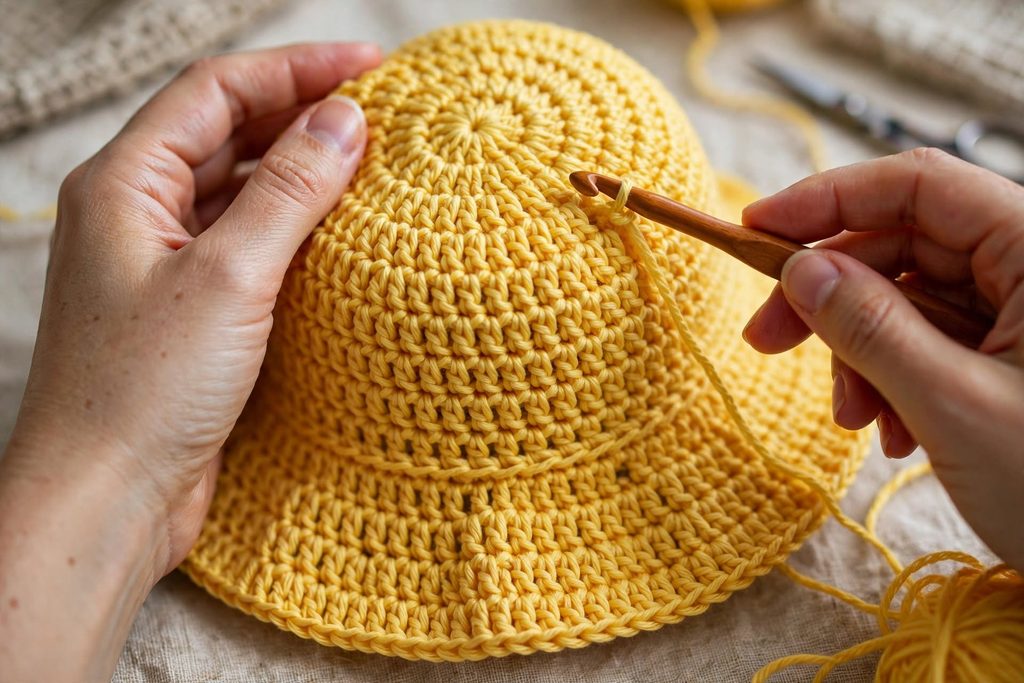
Where the little details begin to turn a simple hat into something with personality.
Here’s what makes a bucket hat with ears an interesting crochet project: the basic hat and the decorative details have to work together.
A typical crochet bucket hat may begin with a crown worked in rounds. The sides build downward, followed by a brim that creates the familiar bucket shape. The precise construction depends on the pattern.
Adding ears introduces another design decision.
They need to be proportionate to the hat, securely attached, and shaped so that they complement the silhouette rather than overwhelm it. Depending on the design, the ears might be flat crocheted shapes or lightly structured pieces.
The goal isn’t necessarily to make them stand perfectly upright. Soft, floppy ears can be just as charming as upright ones.
If you’re designing your own version, consider these three details:
Size: Ears that are too small may disappear into the hat’s shape, while oversized ears can dominate the design. Try arranging them on the finished crown before sewing them into place.
Placement: Position the ears evenly on both sides and check how they look from the front and side. A small adjustment can change the entire expression of the hat.
Attachment: Sew the ears securely using a suitable yarn and a method appropriate for the fabric. Check the attachment carefully, especially when the hat is intended for a young child.
I would also keep embellishments simple. Small beads, buttons, and other detachable decorations can pose choking hazards for young children. Crocheted details are often a more suitable choice, provided they are securely attached and the finished item is checked regularly for loose parts.
A little character doesn’t need a lot of extra pieces. Sometimes two ears and a lovely color are more than enough.
Chapter 4: The Reveal
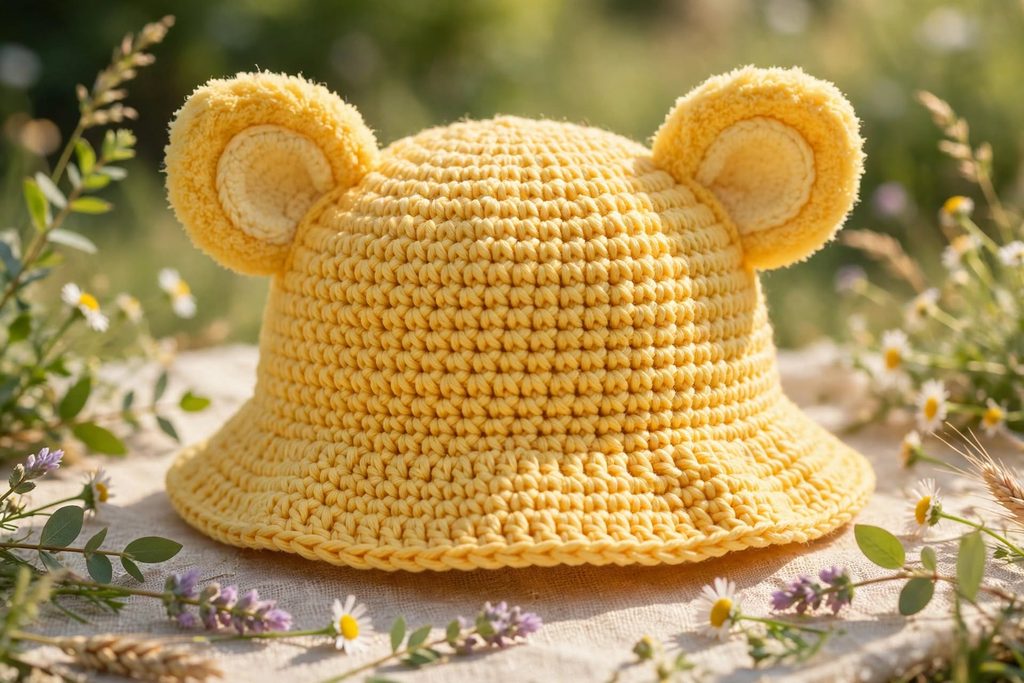
The moment when the separate pieces finally become one finished design.
There’s something satisfying about seeing a crochet project come together.
At the beginning, it’s just yarn, a hook, and a plan. Then the crown takes shape. The sides begin to resemble a hat. The brim gives the piece its silhouette, and the ears add the detail that makes it distinctive.
Suddenly, the project has a personality of its own.
A yellow bucket hat with ears can look playful without being overly complicated. It can be styled with a simple summer outfit, packed for a family day out, or given as a handmade birthday present.
And that’s part of the appeal of crocheting gifts: you’re not simply choosing an item from a shelf. You’re choosing the color, working through the construction, and making decisions that give the finished piece its individual character.
The result doesn’t have to be perfectly symmetrical to be lovely. What matters is that the hat is well made, comfortable, and suited to the person who will wear it.
Chapter 5: The Little Details That Matter
Making something for a child involves a slightly different set of priorities from making an accessory for yourself.
Appearance matters, but comfort and practicality matter just as much.
Start with the fit. Measure the child’s head circumference when possible, and use the sizing guidance provided by your chosen pattern. Age alone is not a reliable way to determine hat size because children’s head measurements vary.
Think about the fabric. A very dense fabric may feel warm in summer, while a fabric with too many open spaces may not provide the coverage you want. Choose the stitch pattern with the intended use in mind.
Check the brim. A brim can help shade the face, but its shape and stiffness depend on the construction. Follow the pattern’s instructions rather than assuming every crochet brim will hold the same shape.
Inspect every attachment. Ears and other decorative elements should be securely sewn on. Recheck them after washing and regular wear.
Follow the yarn’s care instructions. A handmade children’s hat may need frequent cleaning. Make sure the chosen yarn and finished construction can be cared for in a way that suits everyday use.
These details might not be the most exciting part of the project, but they help turn a cute handmade accessory into one that is more practical to wear.
Chapter 6: Where to Begin
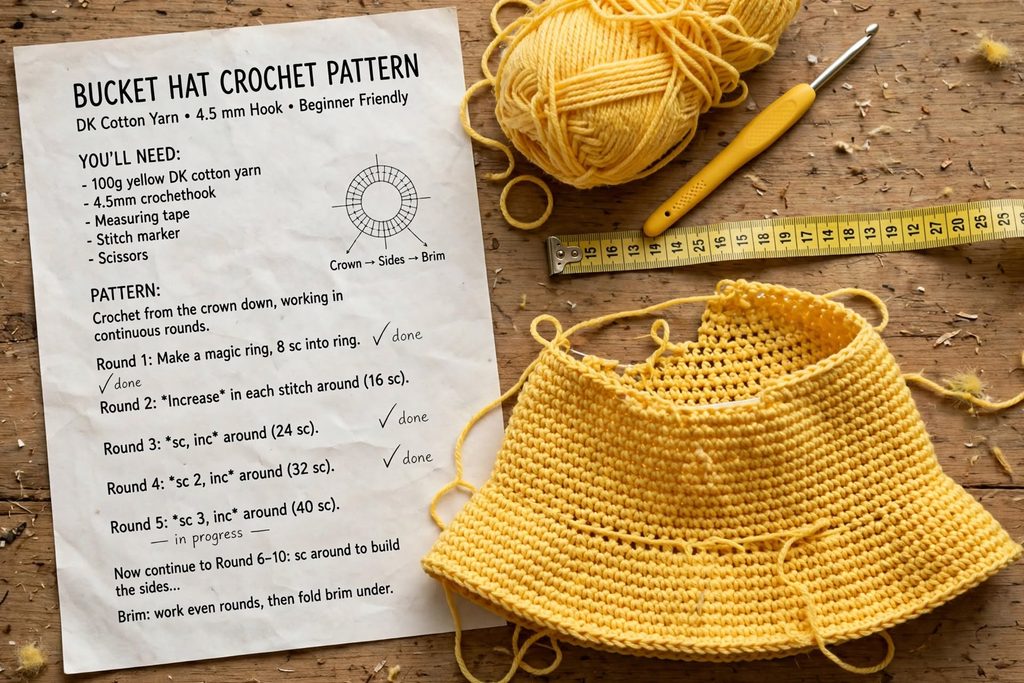
Every finished project starts with a few simple decisions.
You don’t need to invent the entire hat from scratch to make something special.
A clear crochet pattern can guide you through the crown, sides, brim, and any additional details. If you’re new to bucket hats, look for instructions that explain the construction clearly and provide measurements or sizing guidance.
Before beginning, check the pattern’s recommended yarn, hook size, skill level, and finished measurements. If it includes instructions for decorative ears, make sure those instructions match the style you want.
It can also help to read through the entire pattern before you start. That way, you know which steps require shaping, when to check the fit, and how the decorative pieces are attached.
If you’re adapting an existing pattern, make one change at a time. Altering the yarn, hook size, crown dimensions, and ear placement all at once can make it difficult to understand why the finished hat looks different from the original.
And remember: you don’t have to rush.
The pleasure of crochet is often found in the small decisions—the color you choose, the stitches that gradually become familiar, and the moment when the shape finally looks the way you imagined.
Chapter 7: The Unexpected Side Effects
A playful crochet project can have a way of inspiring the next one before you’ve even put your hook away.
Consequence 1: You start seeing possibilities everywhere. A simple hat becomes a starting point for different colors, animal-inspired details, or seasonal variations.
Consequence 2: You become more attentive to small design choices. A slightly wider brim or a different ear shape can give the same basic hat a completely different personality.
Consequence 3: Your gift-making ideas multiply. Once you begin imagining handmade accessories for children, it’s easy to think of matching hats, little bags, or other useful crochet projects.
Consequence 4: You become attached to the finished object. A handmade gift carries the memory of the time and attention that went into making it. Even a small accessory can feel meaningful because you made it for someone in particular.
That’s one of my favorite things about crochet: a project doesn’t need to be elaborate to feel personal.
Sometimes, the simplest idea is the one that stays with you.
Chapter 8: Why Handmade Gifts Feel Different
Why spend hours crocheting a hat when you could buy a ready-made one?
For me, the answer isn’t that handmade things are automatically better. A shop-bought hat can be useful, beautiful, and perfectly suitable.
The difference is in the process.
When you make a gift, you think about the person who will receive it. You choose a color, consider the fit, and decide which details will make the item feel right for them.
Those decisions become part of the finished object.
A yellow hat with little ears is still made from yarn and stitches. But behind those stitches is the idea that someone might enjoy wearing it—that a simple accessory could become part of a favorite outfit or a happy summer memory.
You can’t guarantee that a child will love every handmade gift. Children have their own opinions, and sometimes those opinions arrive with impressive confidence.
But you can put care into the process and make something with the recipient in mind.
That is what makes handmade gifts special to me: not perfection, but attention.
Chapter 9: Your Turn to Make Something
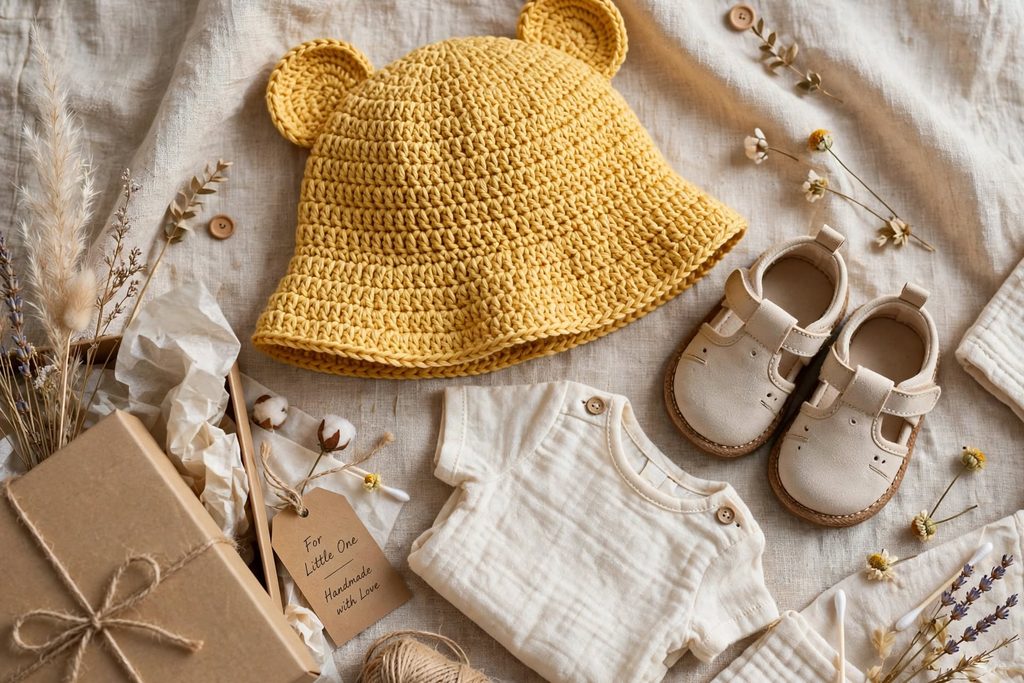
A playful handmade accessory can begin with a simple shape and one thoughtful detail.
If this hat has inspired you to make something for a child in your life, start with a project that matches your current crochet skills.
A basic bucket hat is a useful place to learn about working in rounds, shaping the crown, and creating a brim. Once you’re comfortable with the construction, you can explore decorative details such as crocheted ears.
Choose materials that suit the season, check the sizing carefully, and make sure every attached piece is secure. If the hat is intended for a young child, avoid small detachable decorations.
Most importantly, allow yourself time to enjoy the process.
Your first attempt may need a little adjustment. The brim might turn out wider than expected, or you may decide that the ears look better in a different position.
That’s all part of making something by hand.
You don’t need a complicated design to create a memorable gift. Sometimes, all it takes is a cheerful color, a comfortable fit, and one small detail that makes the wearer smile.
Epilogue: The Hat Lives On
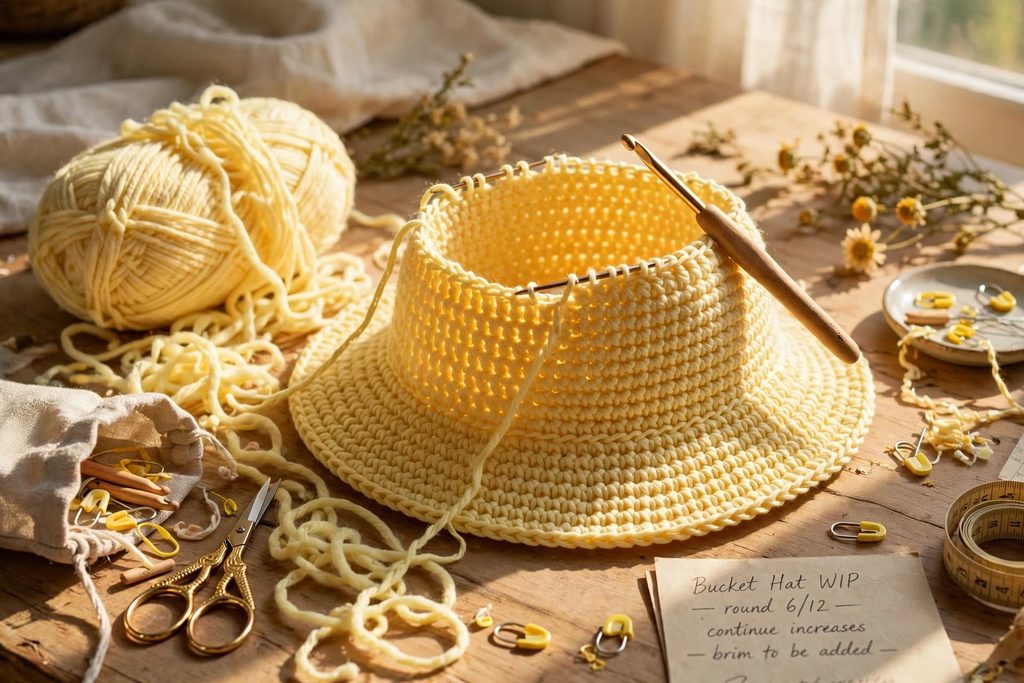
Some handmade projects leave you with more than a finished object.
A crochet hat begins as an idea and gradually becomes something you can hold, wear, and give to someone else.
The yarn becomes a crown, the crown becomes a hat, and a pair of little ears gives the design its own character.
The finished piece doesn’t need a grand story to be meaningful. It can simply be a thoughtful gift made with care.
And perhaps that’s the real magic of handmade things: they give us a way to turn an ordinary idea into something personal.
One hook. A little yarn. Two ears.
And a whole lot of imagination.