This post contains an affiliate link. If you click, you can check out and purchase the Always Crochet Beanie pattern if you’d like. New users get 10 free downloads.
This is my favorite beanie right now. Made it last Saturday while binge-watching Netflix. The yarn? Leftovers from a sweater I never finished. Story of my life.
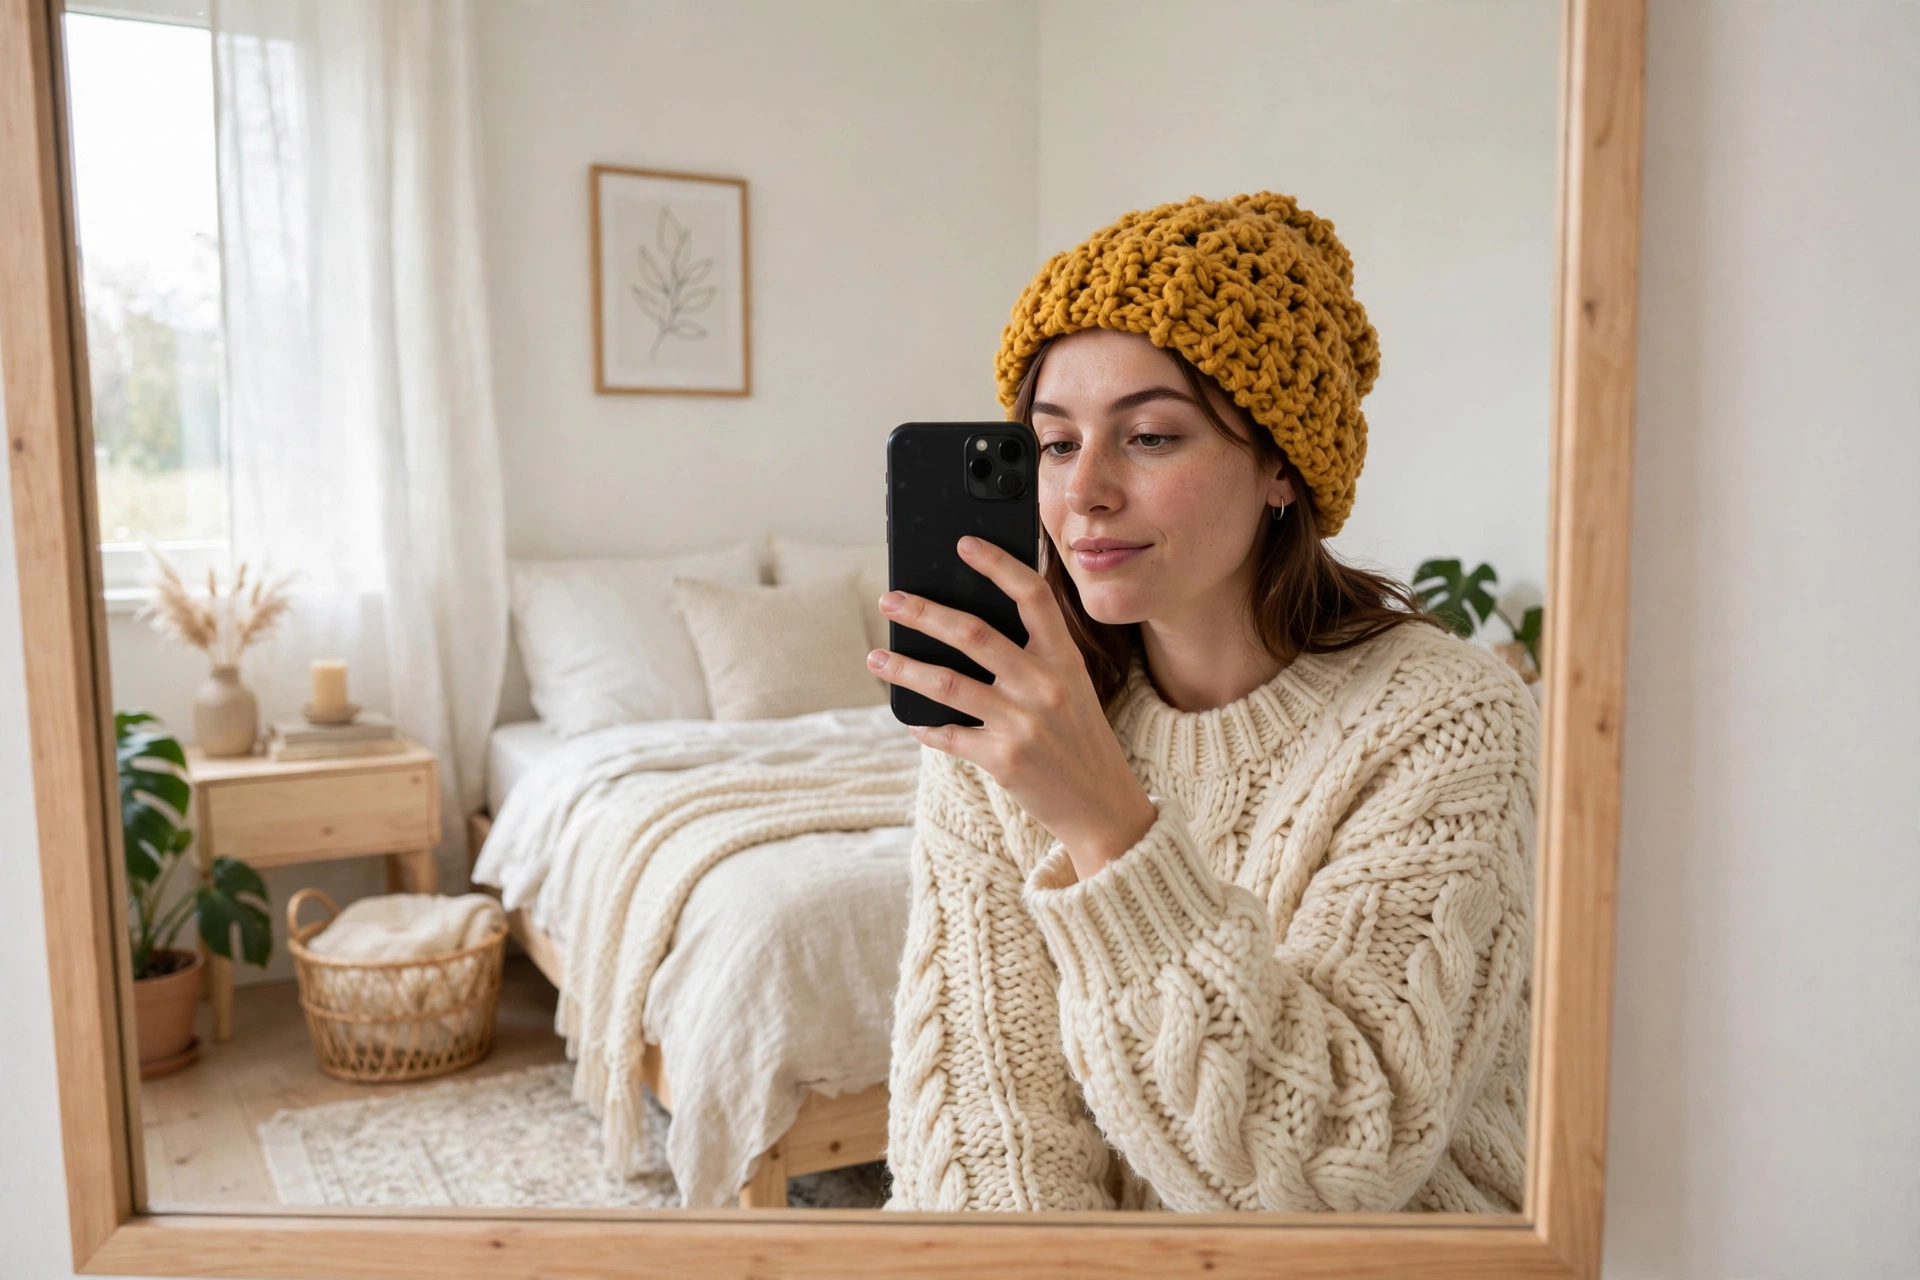
Hey there! So I’ve been meaning to write this post for like… three weeks? Four people have already DM’d me on Instagram asking about this beanie, and I’m honestly tired of typing the same instructions over and over. So here it is, finally.
Here’s the thing. Last year I bought three skeins of chunky yarn because I was gonna make myself an infinity scarf. I made it. Had a skein and a half left over. They sat in my closet for months because I had no idea what to do with them and I felt guilty every time I saw them.
I tried SO many patterns online. Either they were too complicated, or the beanie came out weird — too small, didn’t cover my ears, or the top looked like a mushroom. I ended up frankensteining my own pattern from like three different ones, tweaking it as I went.
And guess what? It worked. I sat down after work one Tuesday and by 10:30 pm I was wearing a new beanie. For real.
What You’ll Need
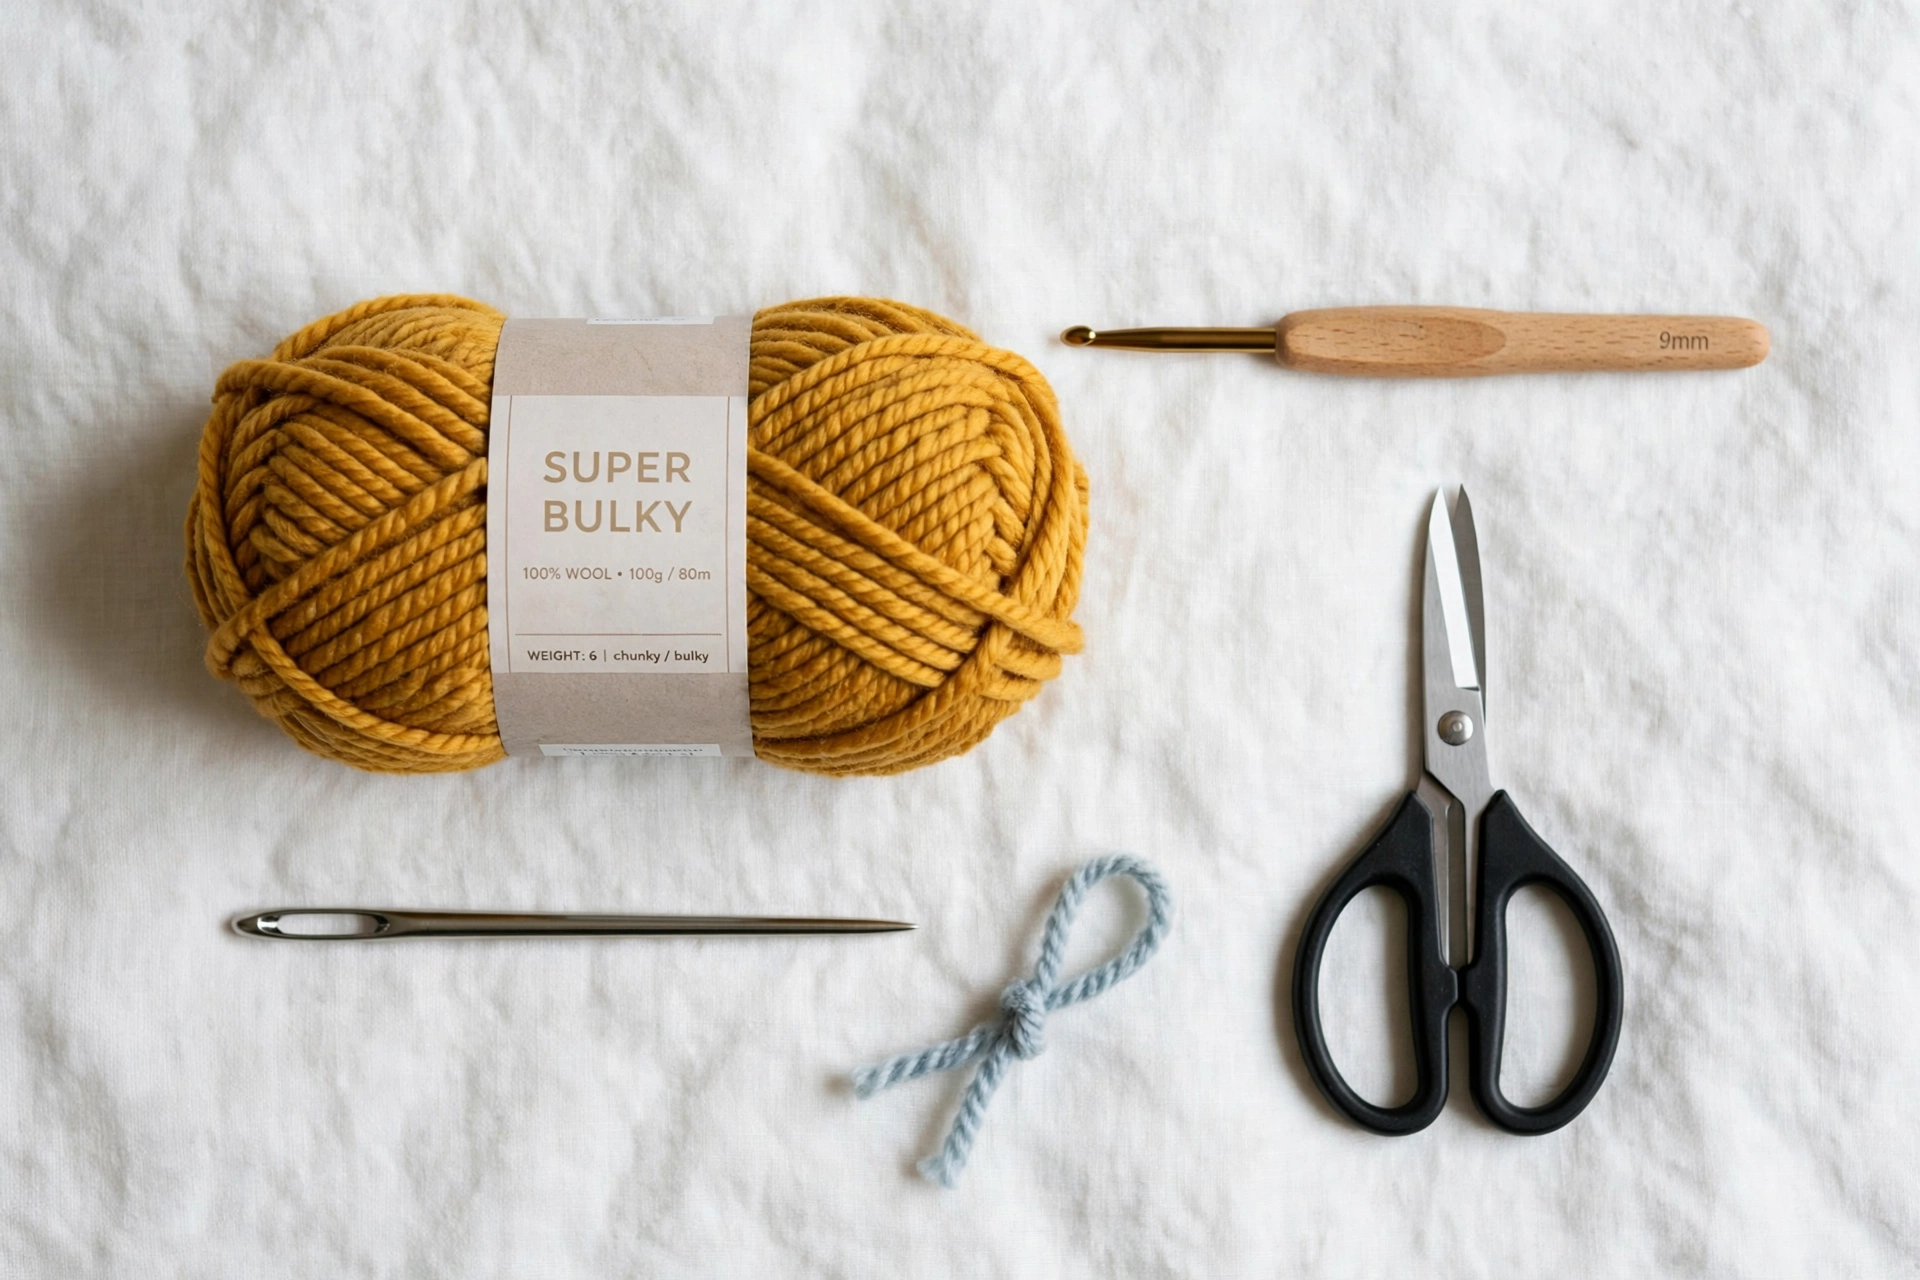
- Yarn — about 120-140 yards of super bulky weight (Category 6). I used YarnArt Alpine, but any similar chunky yarn works.
- Hook — 9mm. Don’t have one? Use 8mm.
- Scissors — regular ones, nothing fancy.
- Tapestry needle — with a big eye.
- Stitch marker — anything works.
Love Quick Beanies Like Mine?
- ✅ Super Bulky Yarn – only 75 yards
- ✅ 9mm Hook – One Evening Project
- ✅ Perfect for Last-Minute Gifts
New users get 10 free downloads on Creative Fabrica
My Pattern
Let me just say — I don’t crochet perfectly. My tension varies, I sometimes miss a stitch and don’t notice for two rounds, whatever. The beanie still comes out fine. So don’t stress.
The Brim (worked flat)
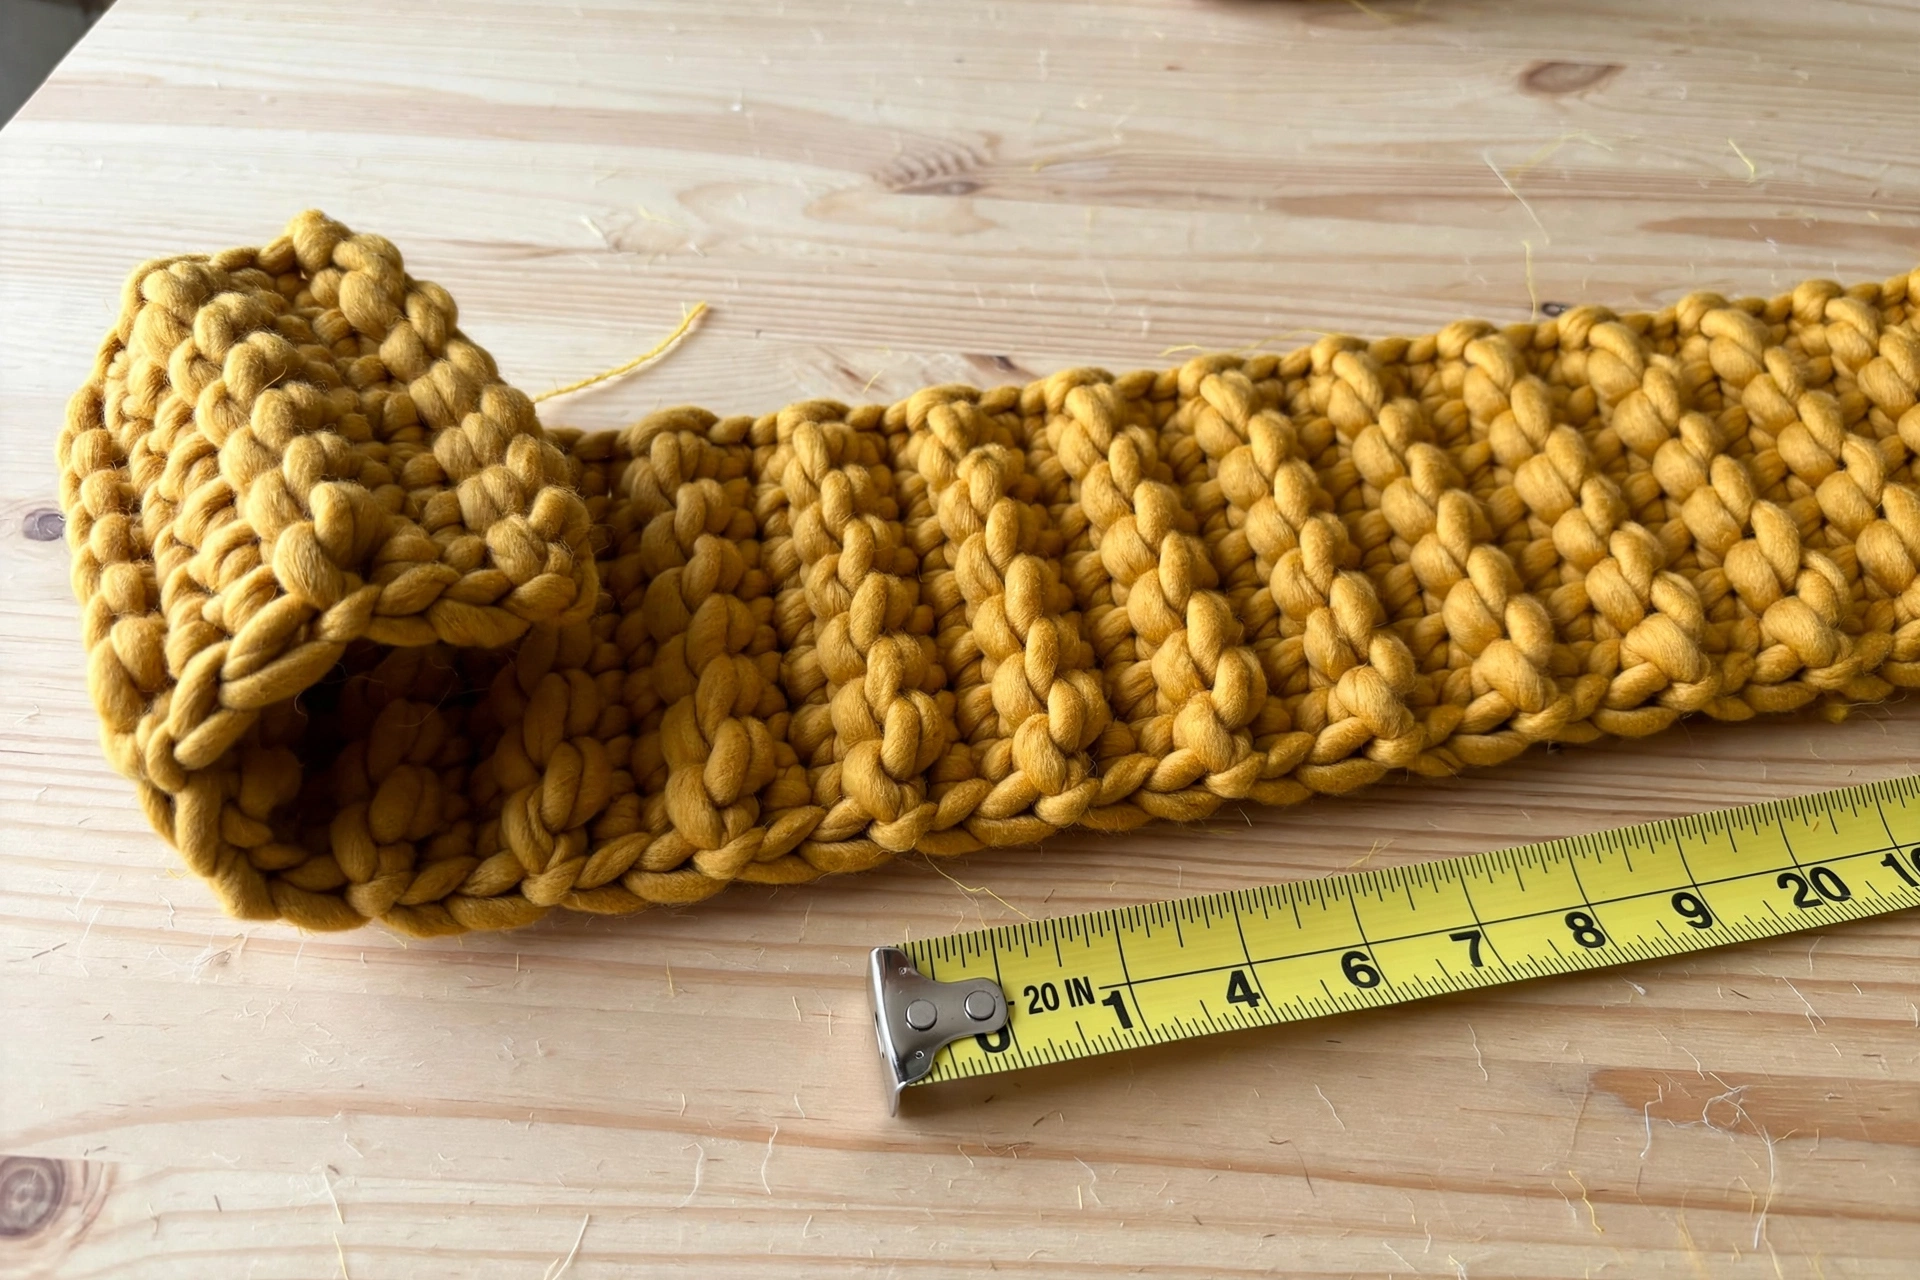
Chain 8. Single crochet in the 2nd chain from hook and in each chain across. That’s 7 sc. Turn your work. Chain 1 and single crochet in each stitch, working through the back loop only. Keep going until the strip wraps snugly around your head. For me that’s 50 rows = about 20 inches.
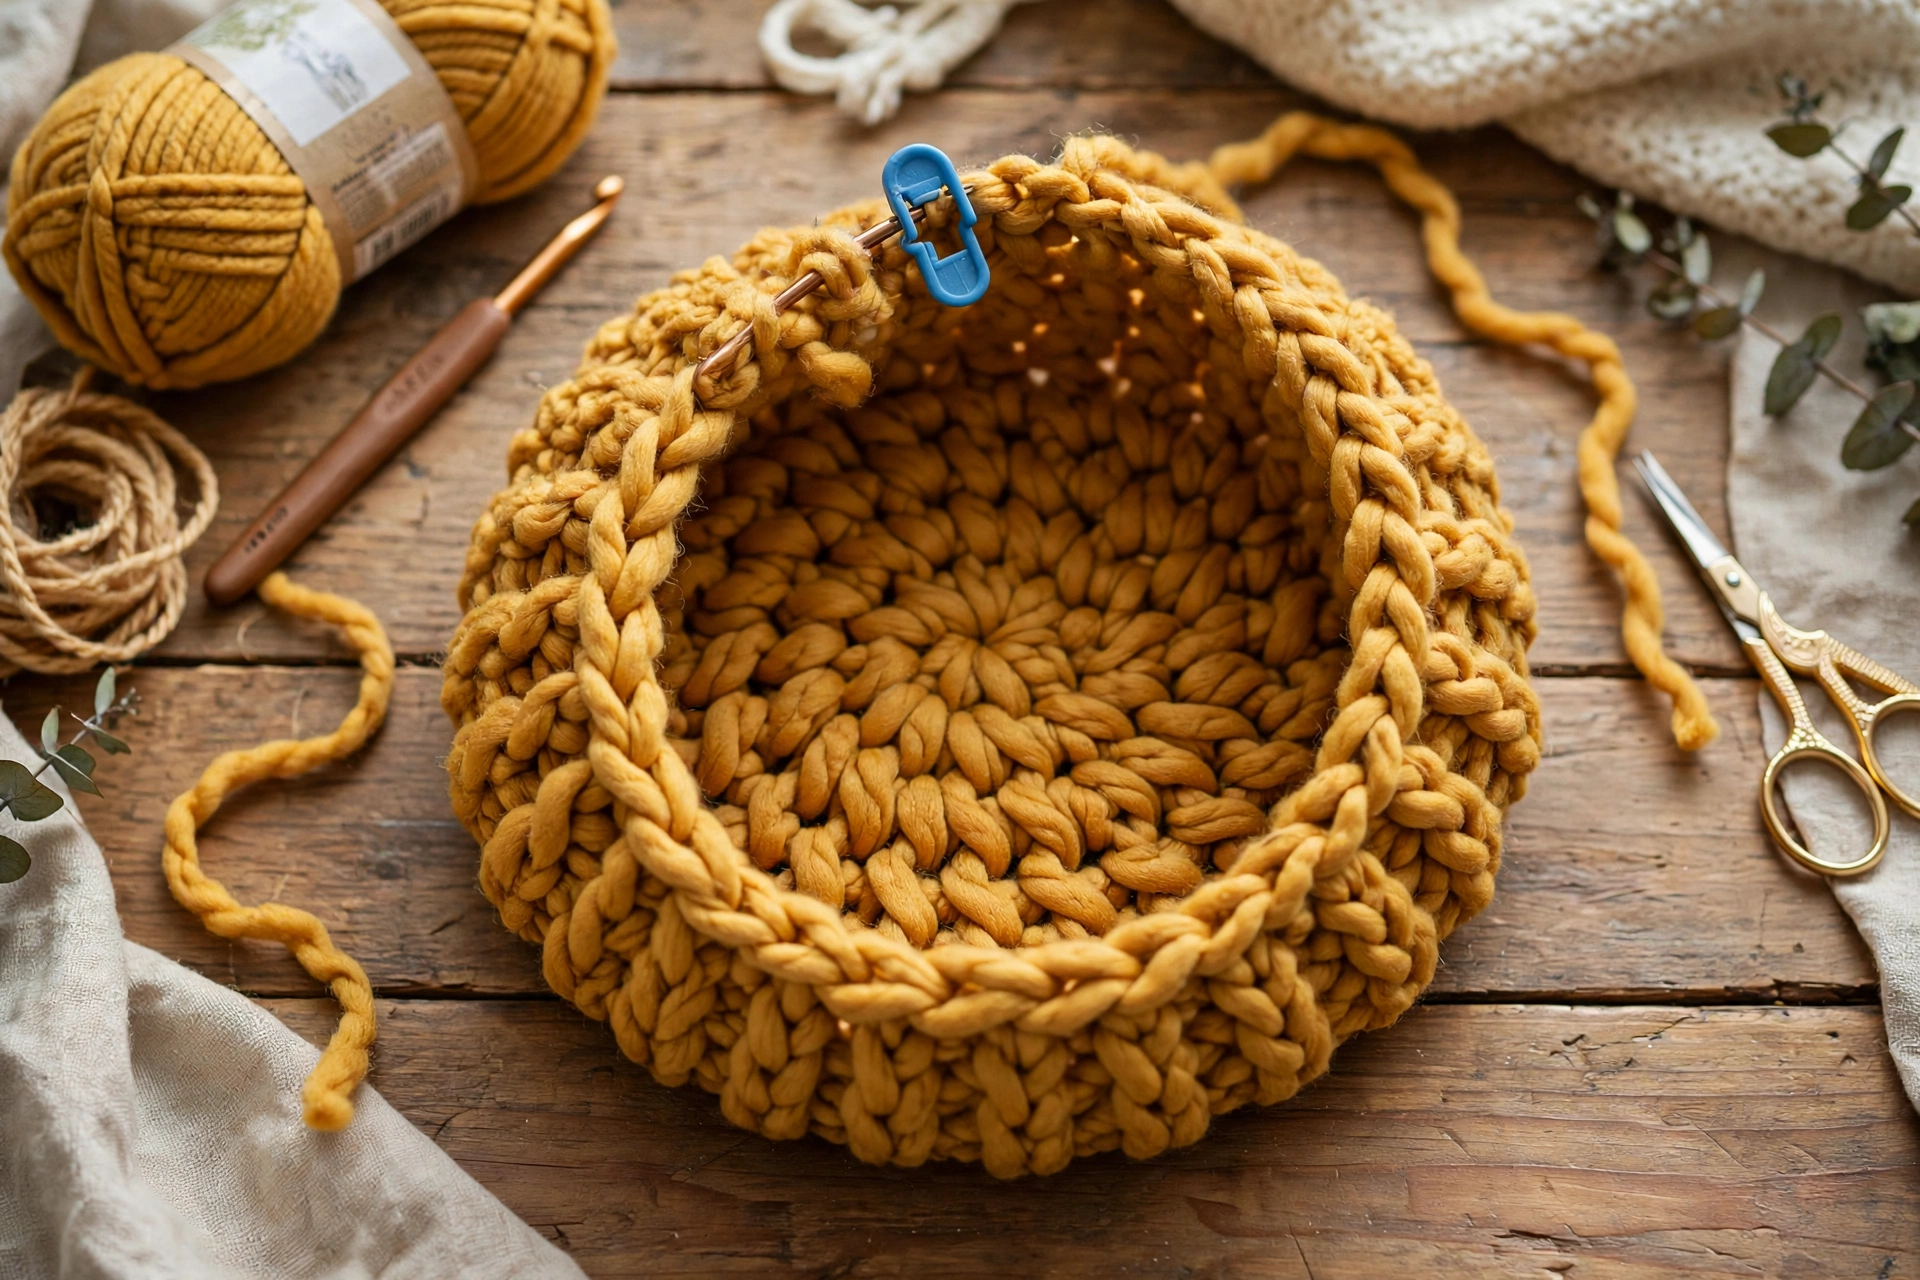
The Body (worked in rounds)
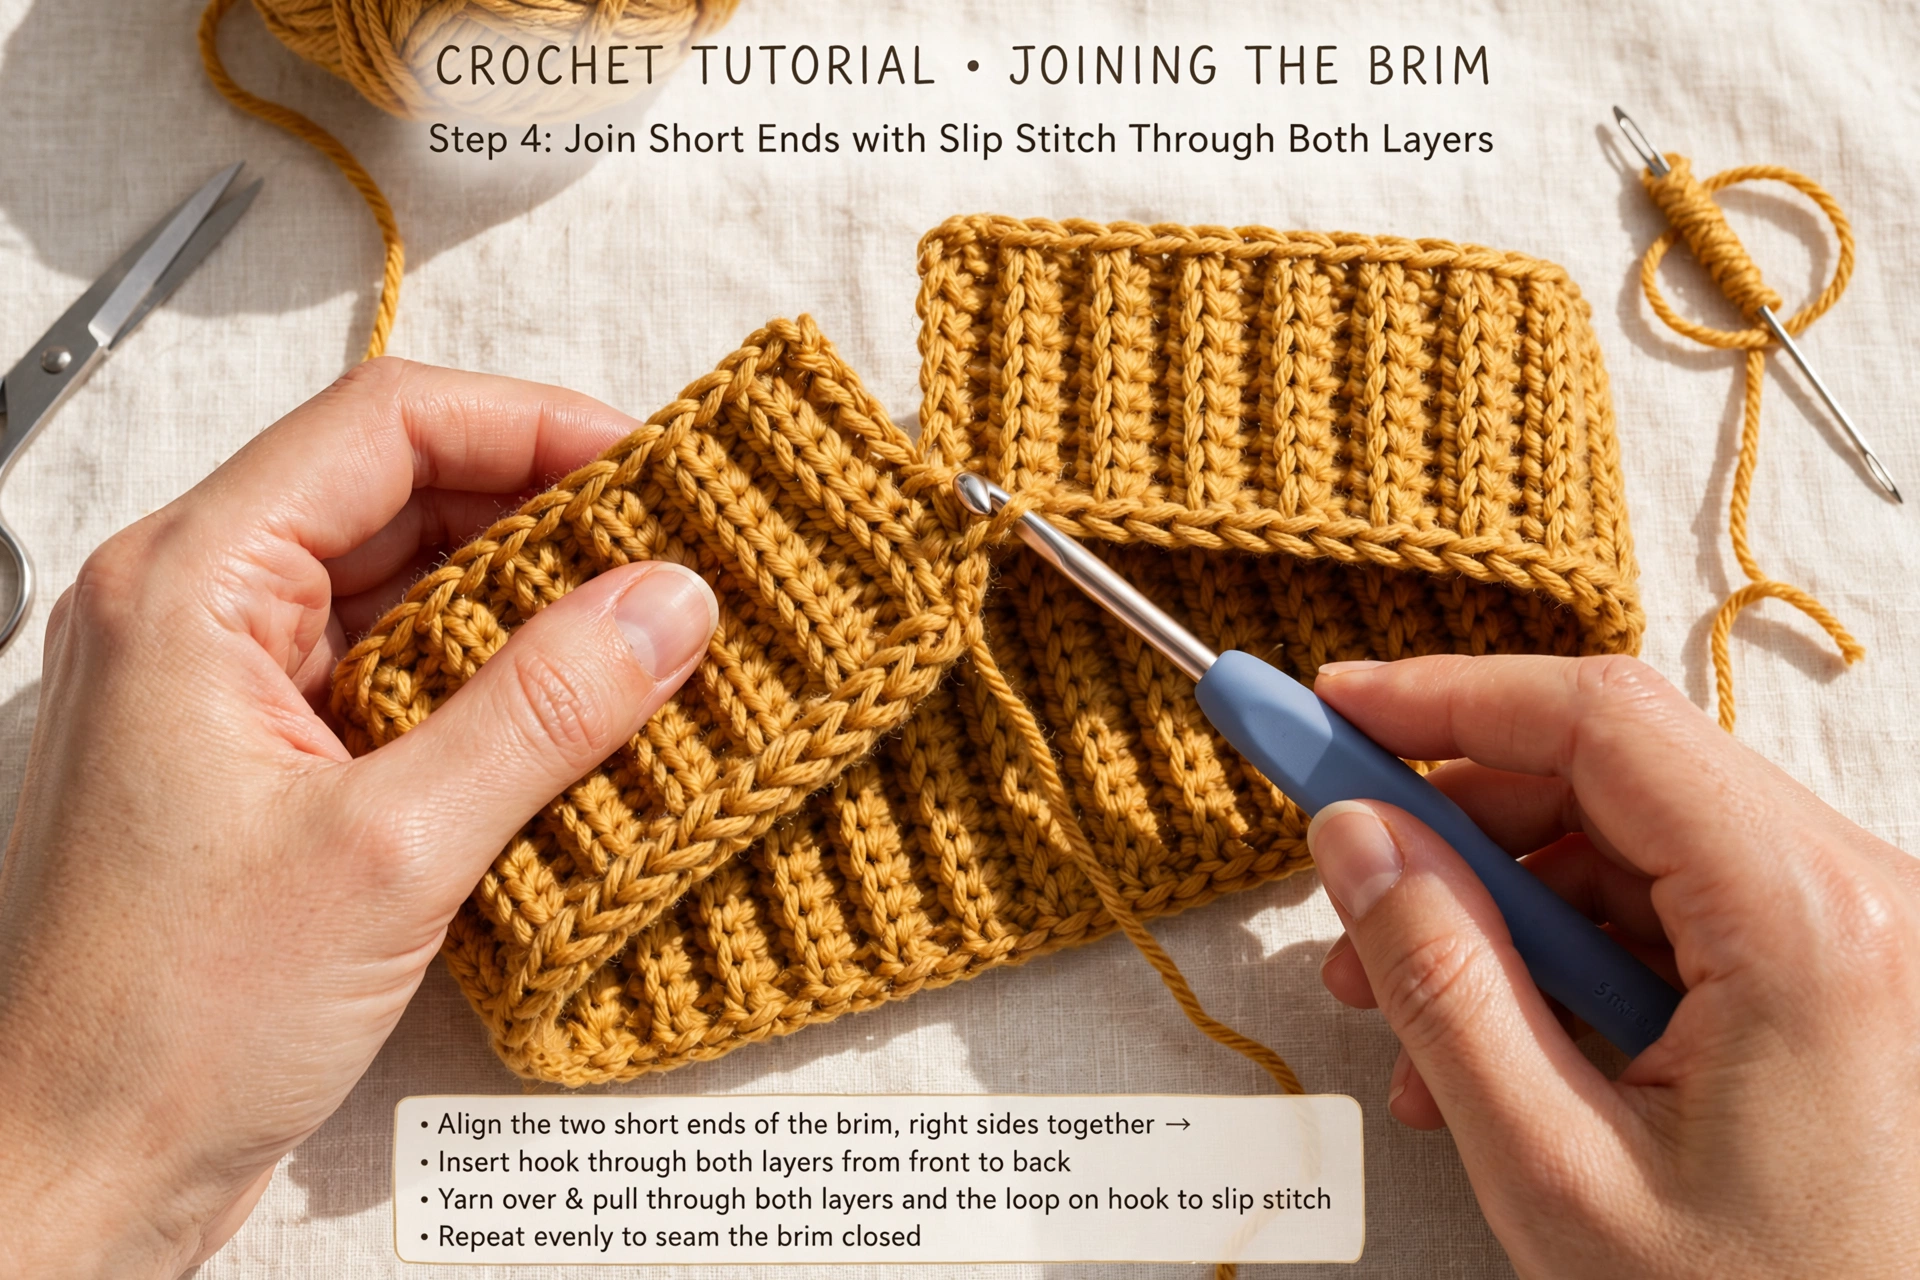
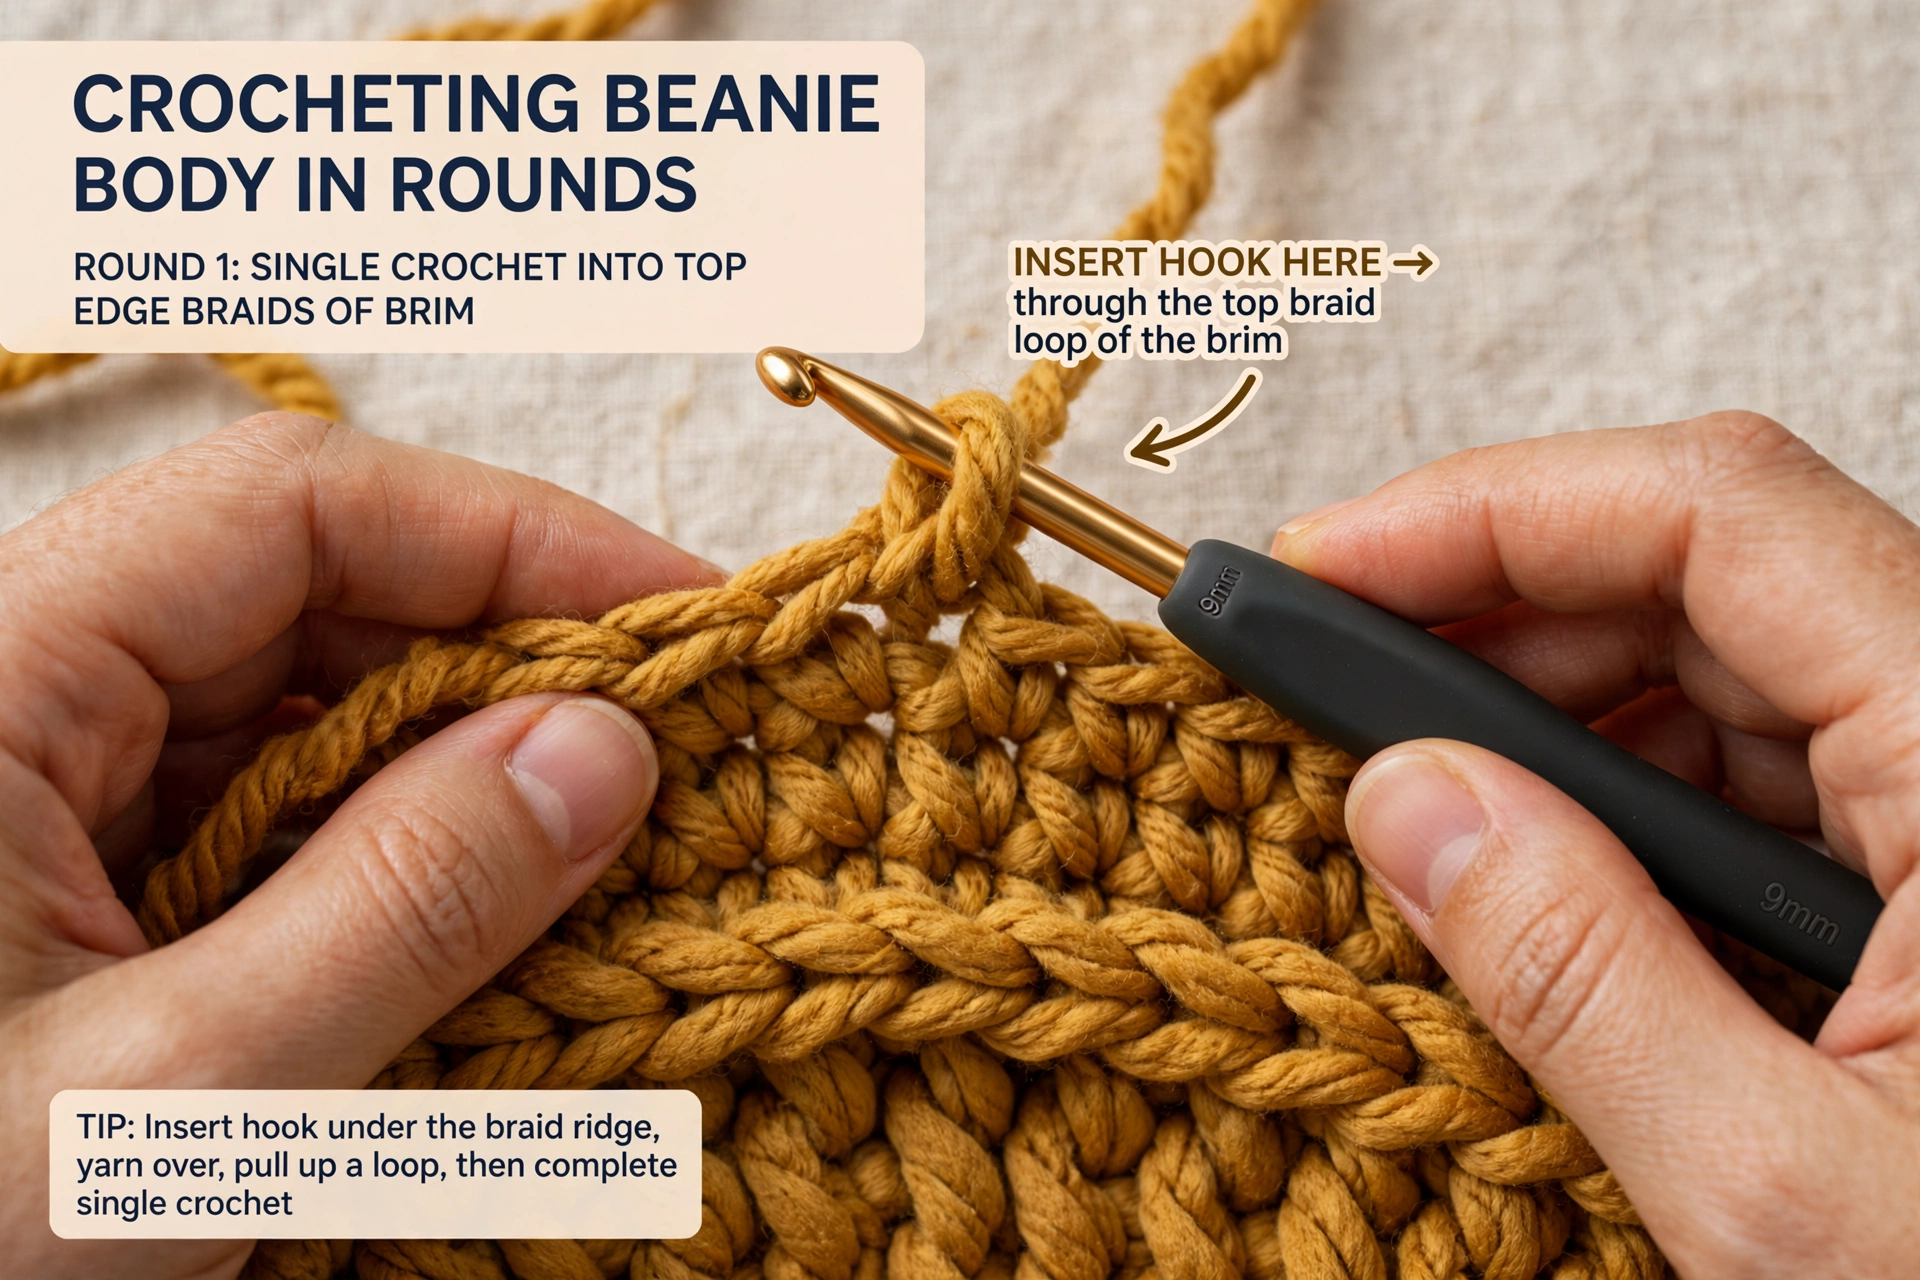
Round 1: Single crochet in each stitch around the top edge of the brim. I got 40 sc. Place a marker in the first stitch. Rounds 2-14: Single crochet in each stitch around.

The Crown (decrease rounds)
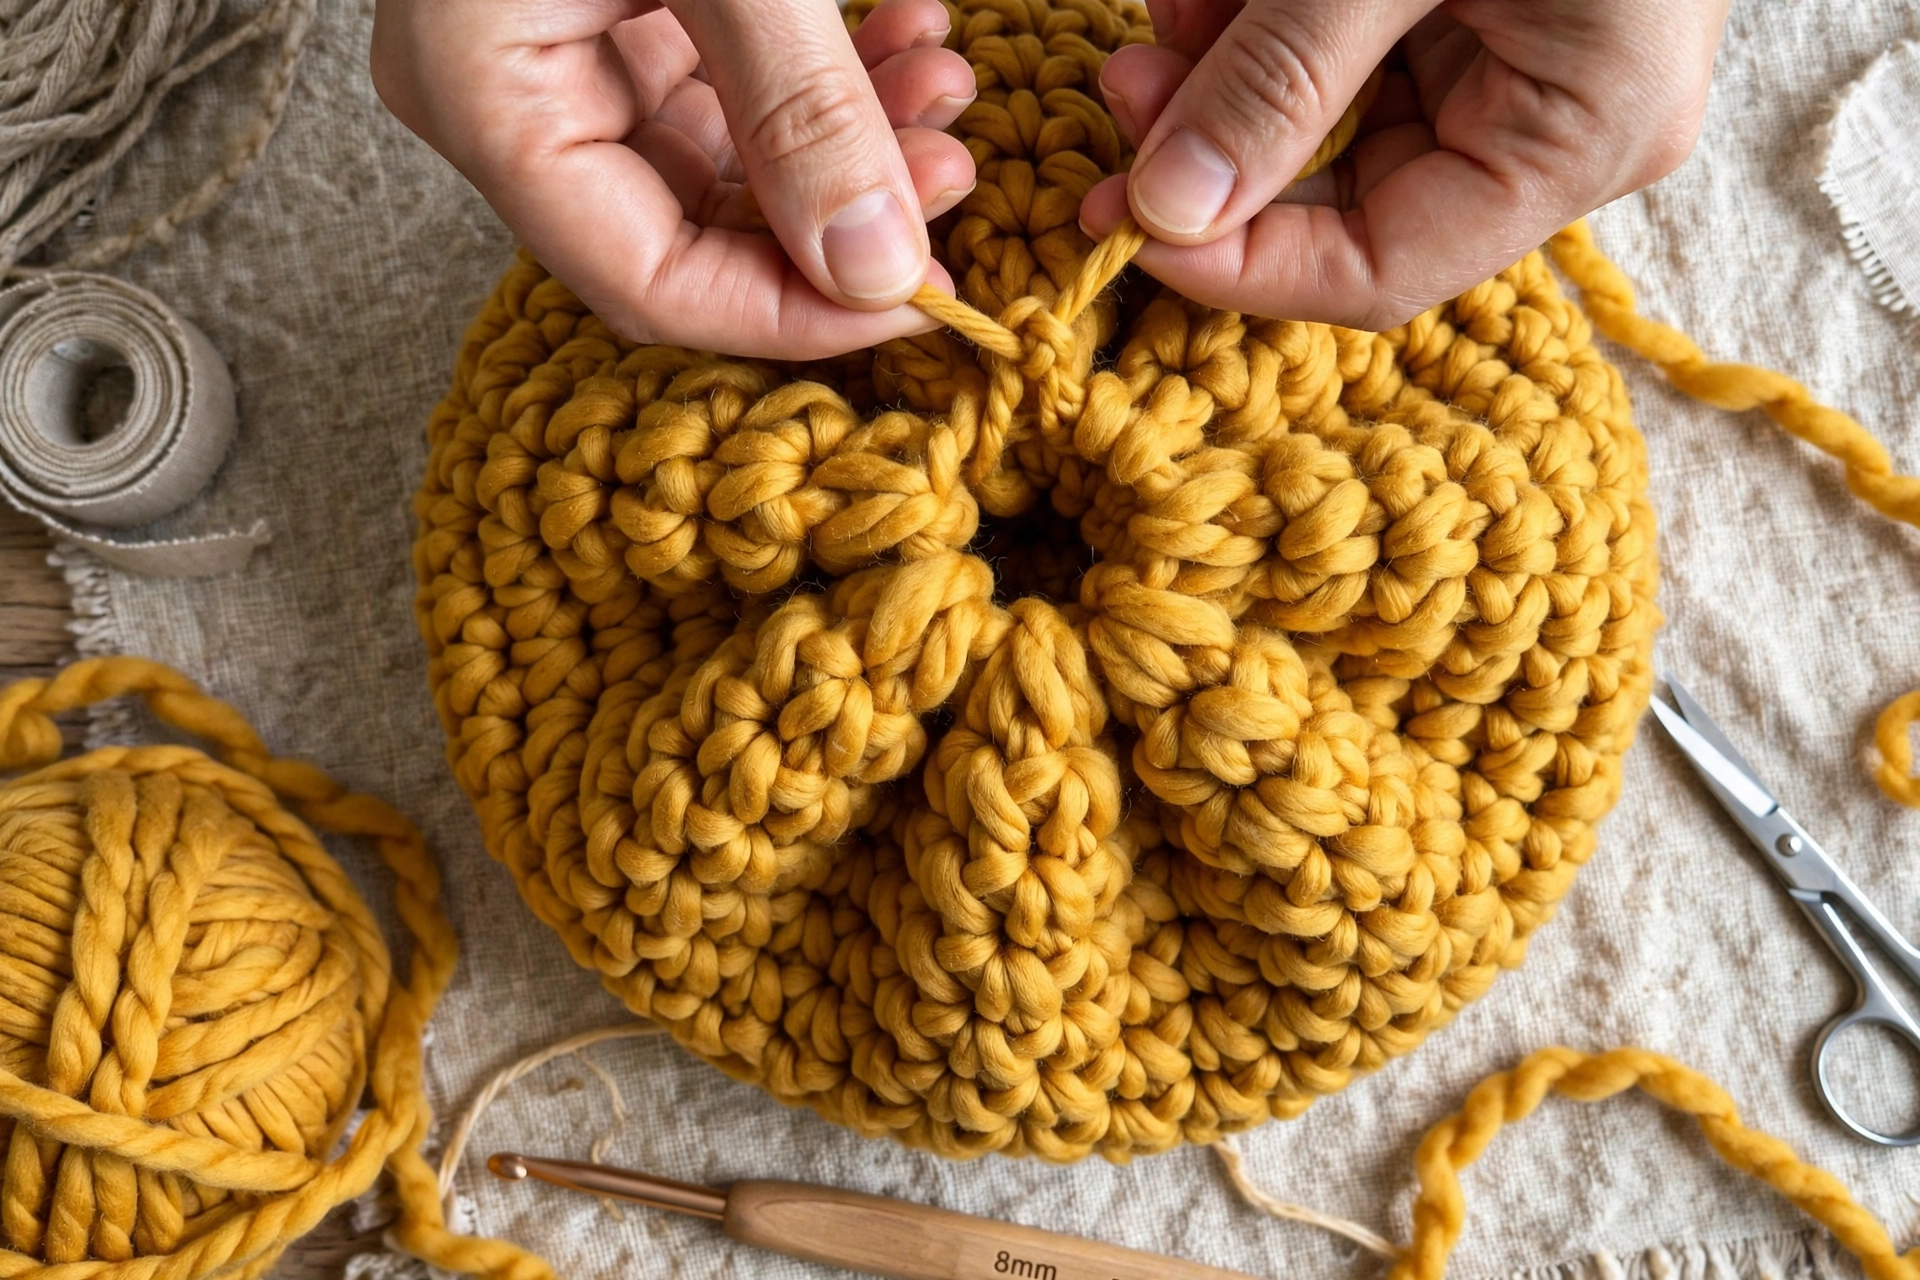
Round 15: Sc in next 6 sts, sc2tog. Repeat around. Round 16: Sc in each st around. Round 17: Sc in next 5 sts, sc2tog. And so on until 5 sts left. Cut yarn, thread through remaining stitches, pull tight to close.
Pom-Pom or No Pom-Pom?
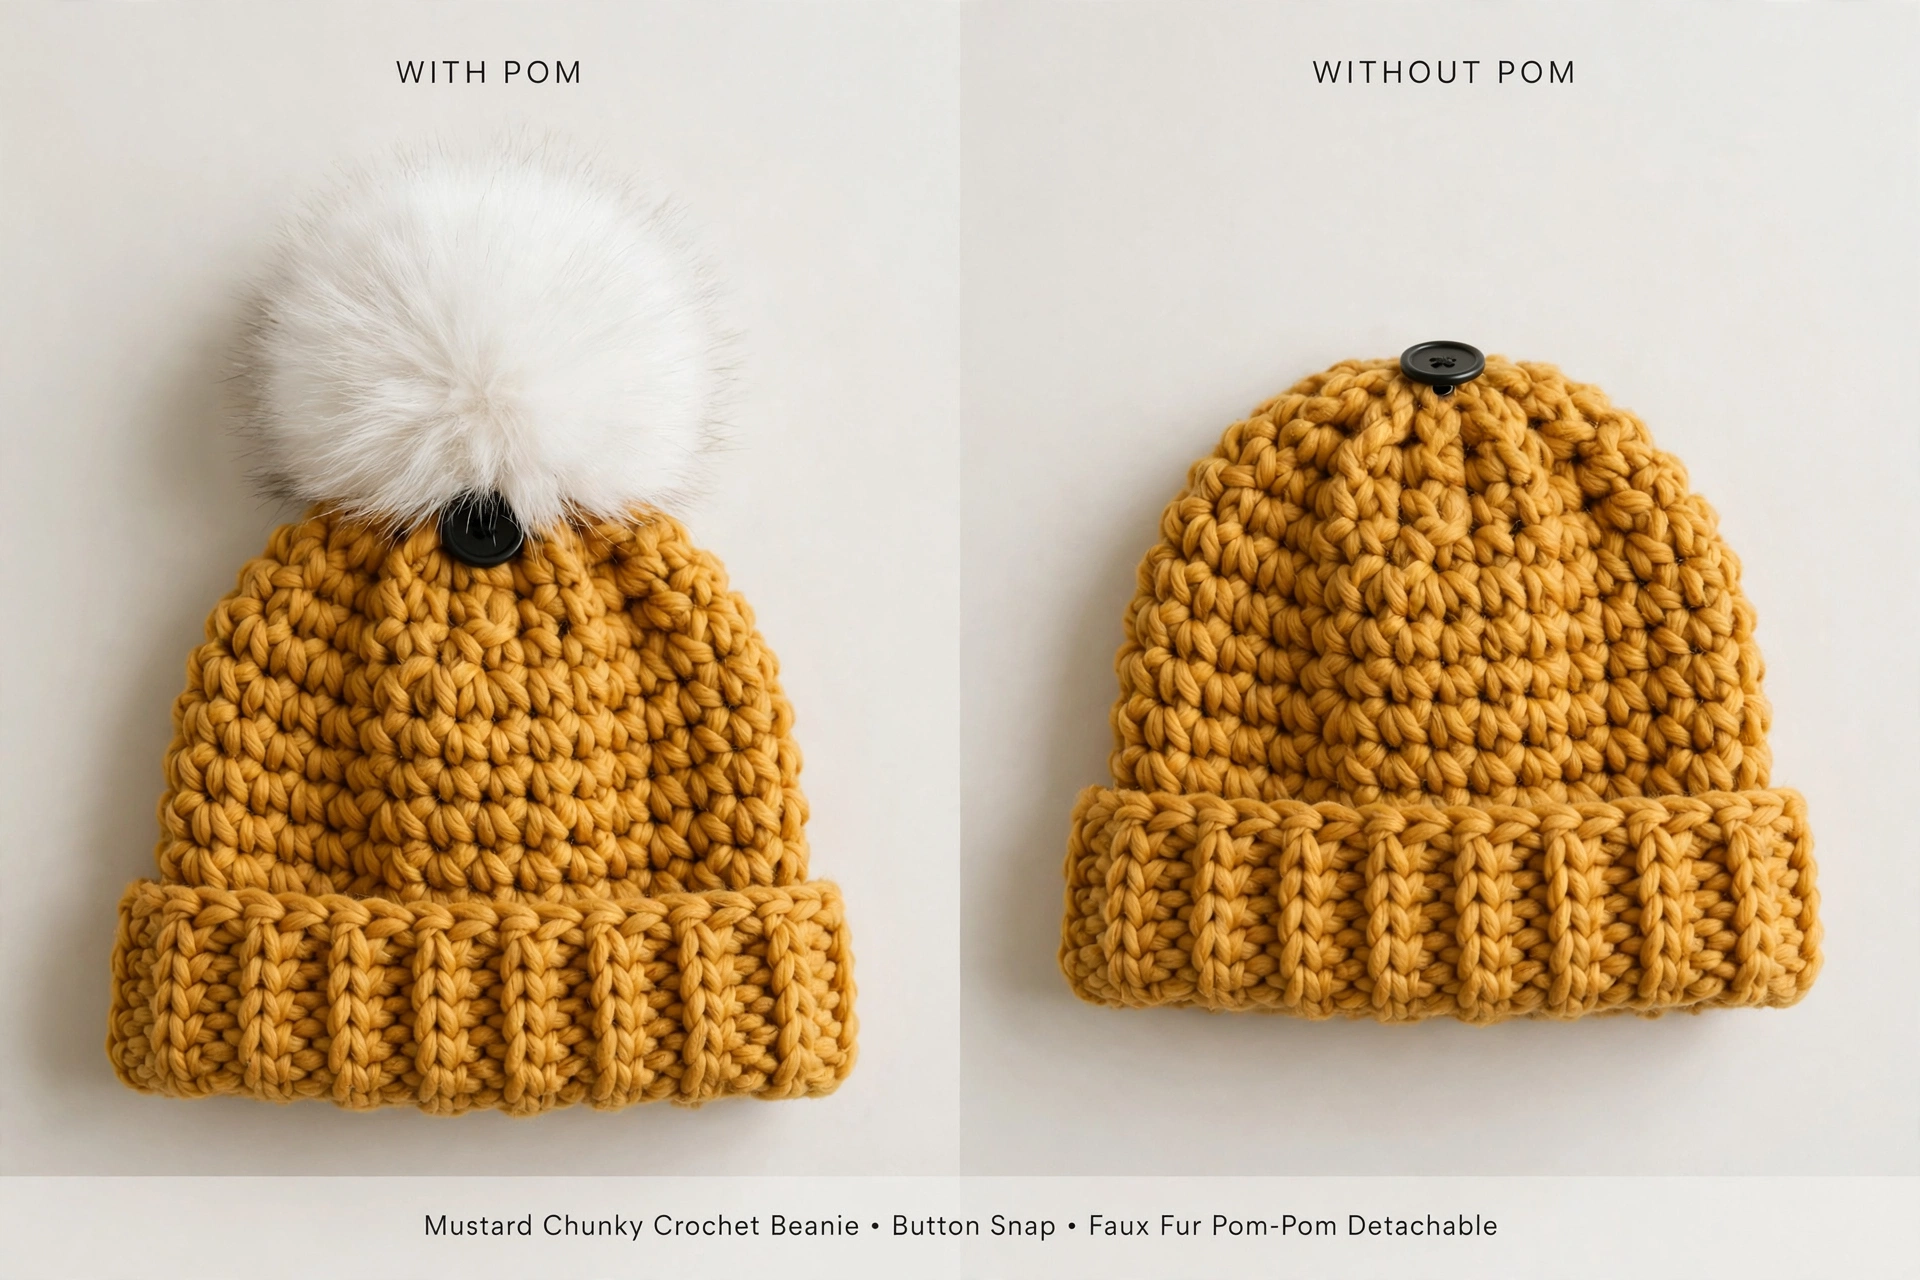
I’ve tried making yarn pom-poms like three times. They always came out lopsided. Now I buy ready-made ones with a button snap.
Sizing
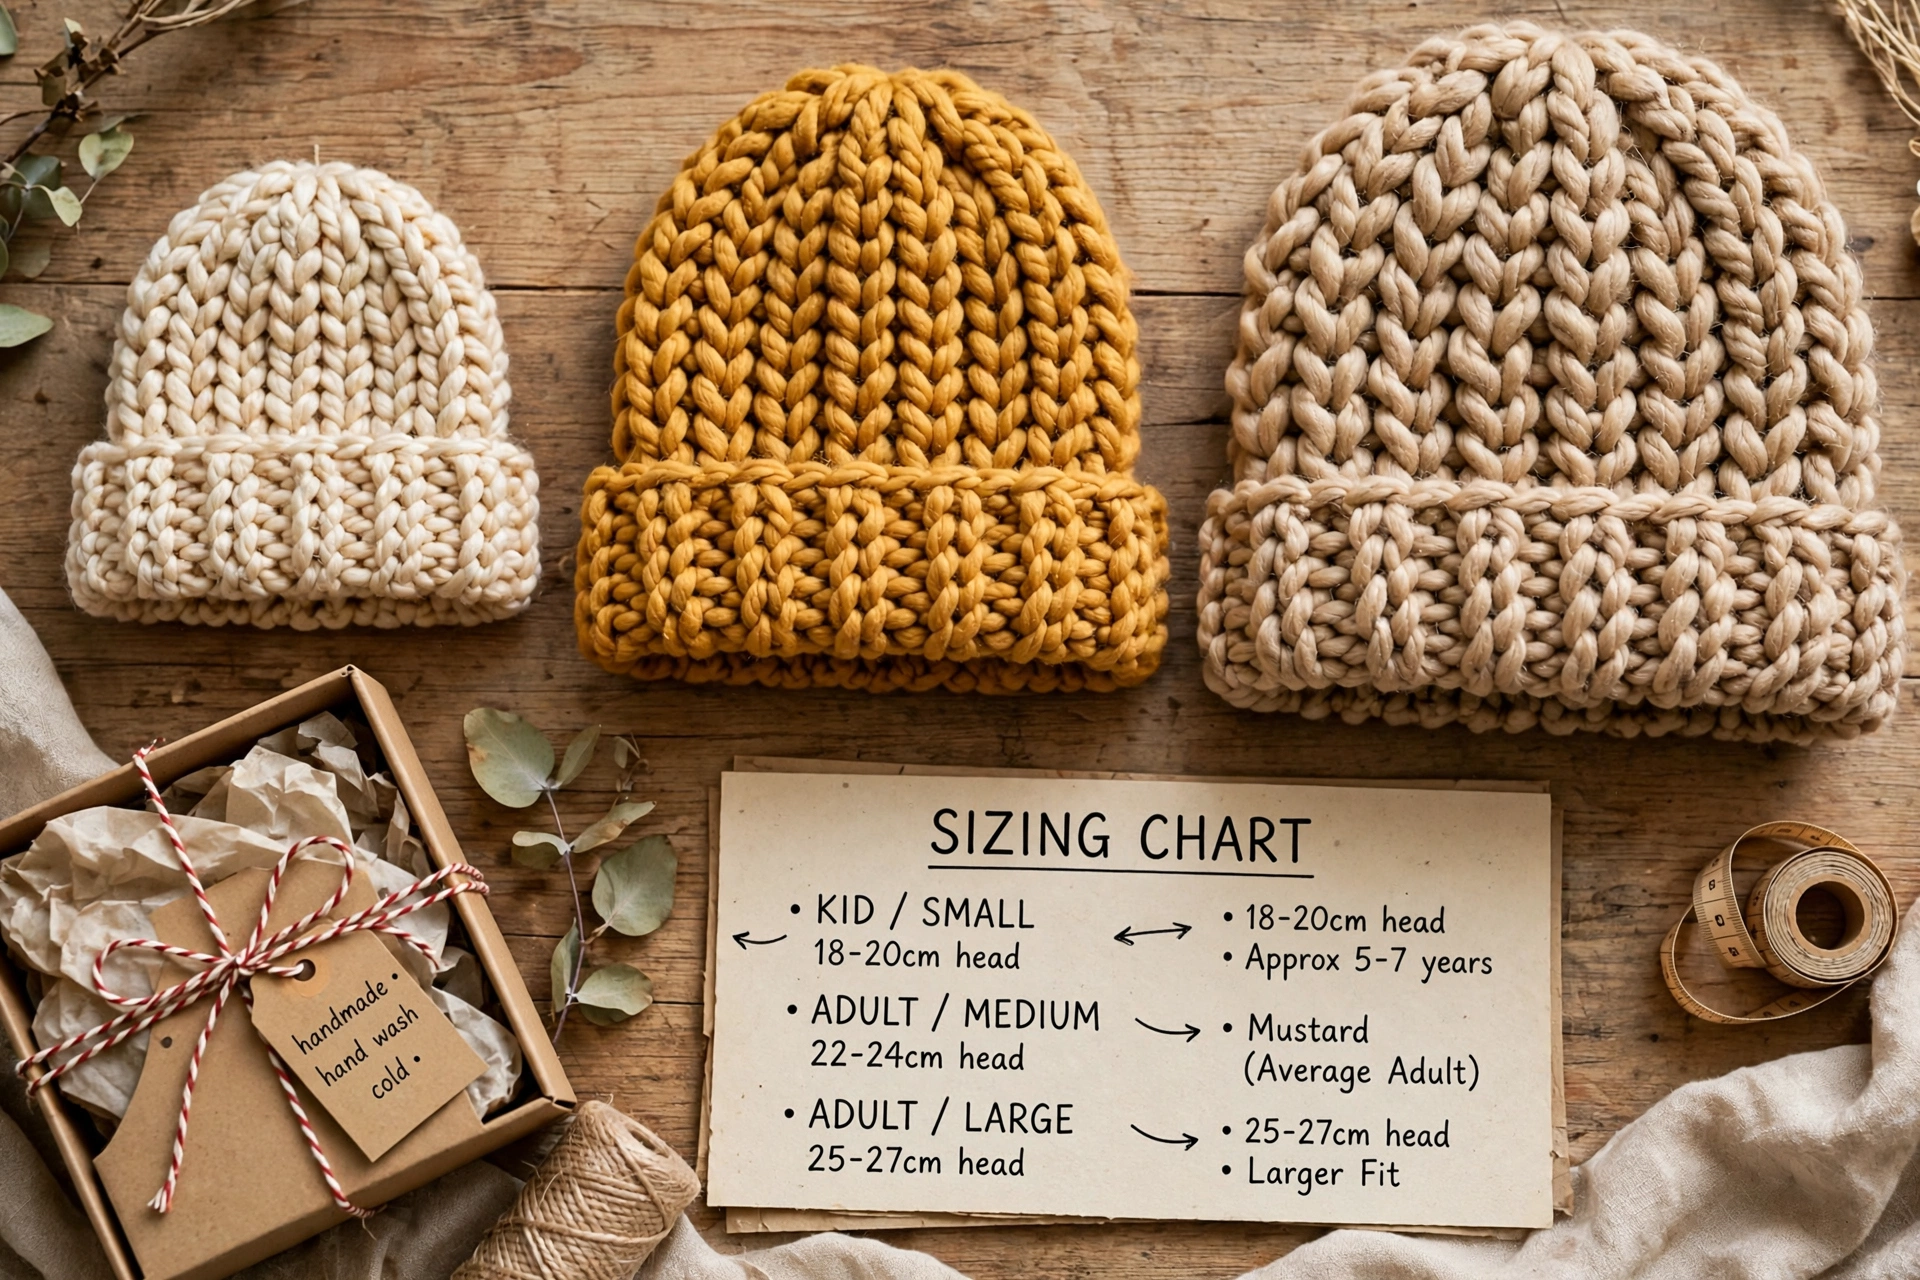
Kid 40 rows / 10 rounds / 18-19 inches. Teen 45 / 12 / 20-21. Average adult 50-55 / 14 / 22-23. Big head 55-60 / 14-16 / 23+.
What I Do With These Beanies
This is literally my go-to Christmas gift this year. I’m making one a week — should have about 15 by December. I package them in kraft boxes with a little tag that says “handmade, hand wash cold” and everyone’s happy.
YOU MIGHT ALSO LOVE: