“This post contains an affiliate link. If you click, you can check out and purchase the Shanaya top pattern if you’d like. New users get 10 free downloads.” Start with the Starstruck Beanie pattern right here →
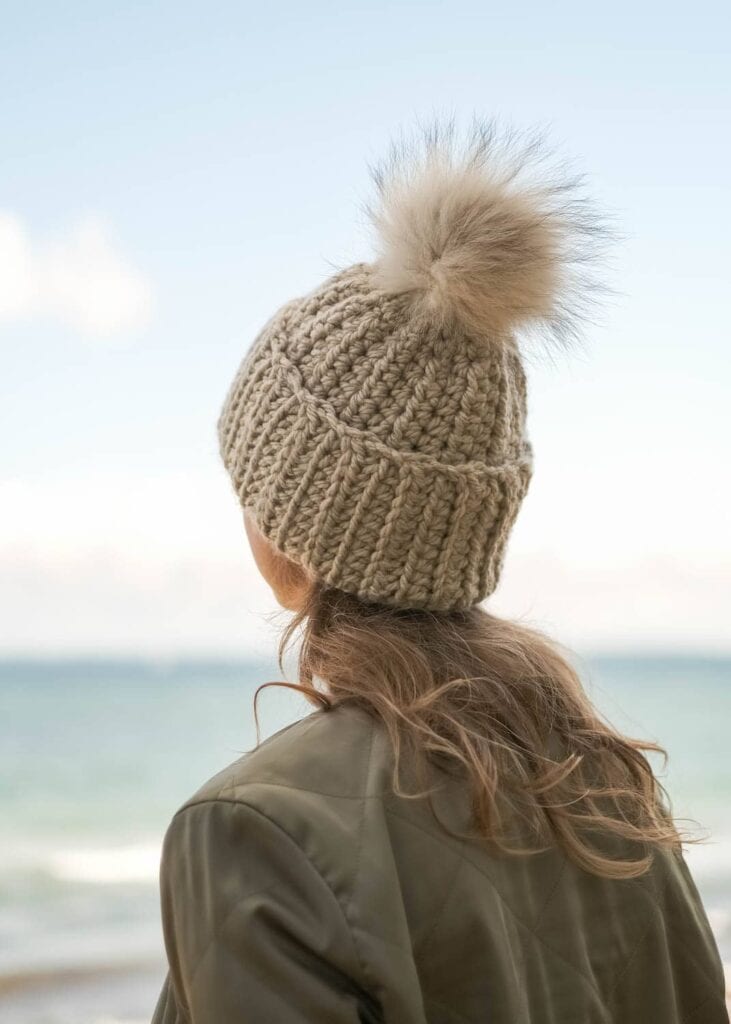
This is my favorite beanie right now. Made it last Saturday while binge-watching Netflix. The yarn? Leftovers from a sweater I never finished. Story of my life.
Hey there! So I’ve been meaning to write this post for like… three weeks? Four people have already DM’d me on Instagram asking about this beanie, and I’m honestly tired of typing the same instructions over and over. So here it is, finally.
Here’s the thing. Last year I bought three skeins of chunky yarn because I was gonna make myself an infinity scarf. I made it. Had a skein and a half left over. They sat in my closet for months because I had no idea what to do with them and I felt guilty every time I saw them.
I tried SO many patterns online. Either they were too complicated, or the beanie came out weird — too small, didn’t cover my ears, or the top looked like a mushroom. I ended up frankensteining my own pattern from like three different ones, tweaking it as I went.
And guess what? It worked. I sat down after work one Tuesday and by 10:30 pm I was wearing a new beanie. For real.
What You’ll Need
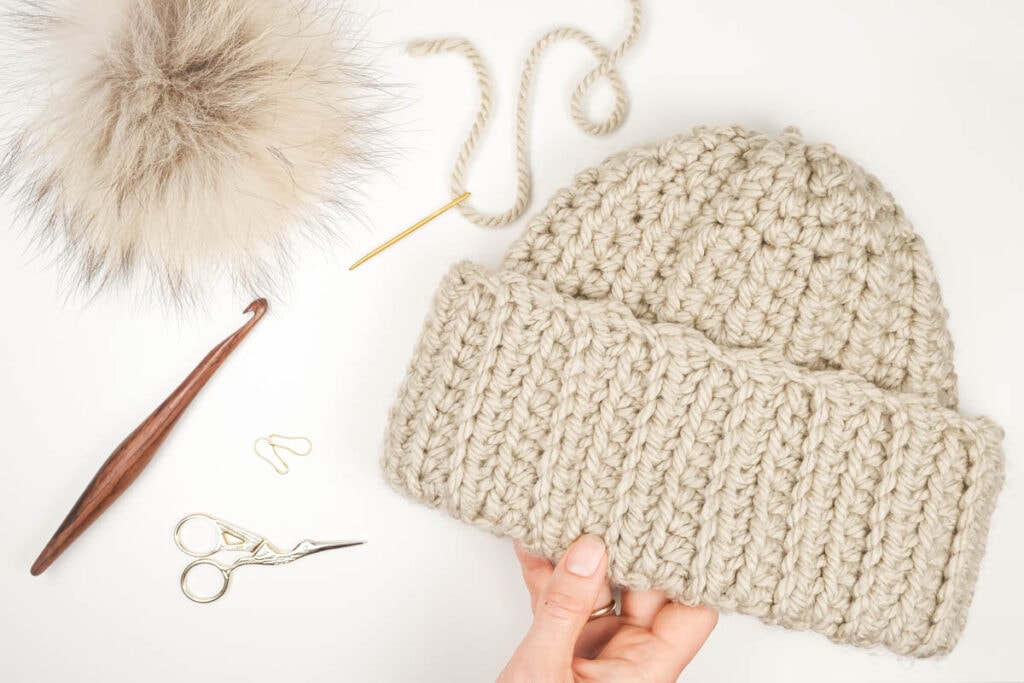
Everything you need. Scissors can be whatever, just make sure they’re sharp. And get a tapestry needle with a BIG eye — trust me on this one.
Okay real talk, here’s my honest supply list:
-
Yarn — about 120-140 yards of super bulky weight (Category 6). I used YarnArt Alpine, but any similar chunky yarn works. Just don’t go thinner or your beanie will be tiny.
-
Hook — 9mm. Don’t have one? Use 8mm. 10mm works too but it’ll be a bit looser.
-
Scissors — regular ones, nothing fancy.
-
Tapestry needle — with a big eye. I tried finishing without one once. Never again.
-
Stitch marker — anything works. I use a scrap of contrasting yarn because I lose actual stitch markers constantly.
About the yarn. Don’t use pure wool if this is your first time — it’s expensive and if you mess up, you’ll cry. Go with acrylic or an acrylic blend (look for 20-30% wool on the label). Cheaper, easier to wash, and way less heartbreaking if you have to frog it.
And if you finish this beanie and want something new to try, I recently came across this Shanaya crochet top pattern on Creative Fabrica. It uses similar stitches — single crochet, back loop only — so it’ll feel familiar, but it’s a step up in complexity. Perfect for your next weekend project.”
My Pattern
Let me just say — I don’t crochet perfectly. My tension varies, I sometimes miss a stitch and don’t notice for two rounds, whatever. The beanie still comes out fine. So don’t stress.
The Brim (worked flat)
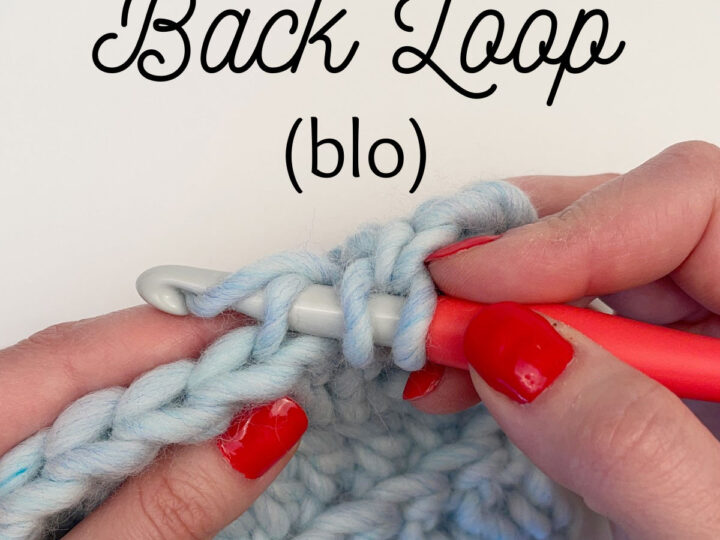
This is “back loop only.” Looks tricky but it’s literally just inserting your hook slightly differently. After ten rows it’s muscle memory.
Chain 8.
Single crochet in the 2nd chain from hook and in each chain across. That’s 7 sc.
Turn your work. Chain 1 (counts as turning chain) and single crochet in each stitch, working through the back loop only. This is important — that’s what makes the ribbed texture like store-bought beanies.
Keep going until the strip wraps snugly around your head. For me that’s 50 rows = about 20 inches. Make it TIGHT — the ribbing stretches out, so if it’s loose now it’ll be baggy later.
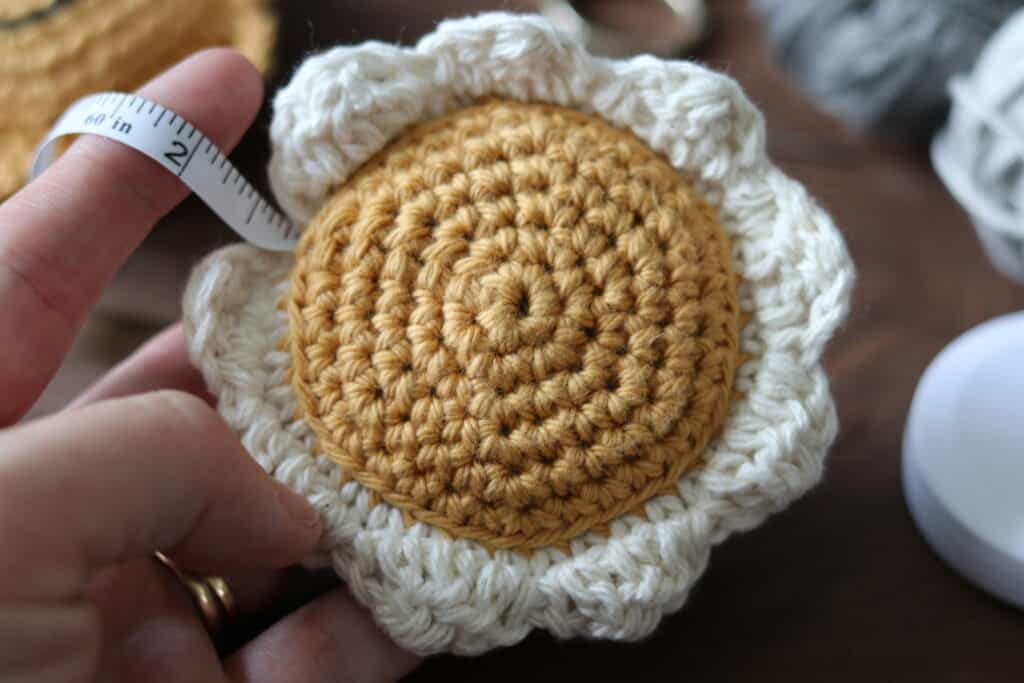
My brim strip. See how it curls a bit? Totally normal, it’ll straighten out.
Join the short ends with slip stitches through both layers. Don’t cut the yarn — keep going around the top edge.
The Body (worked in rounds)
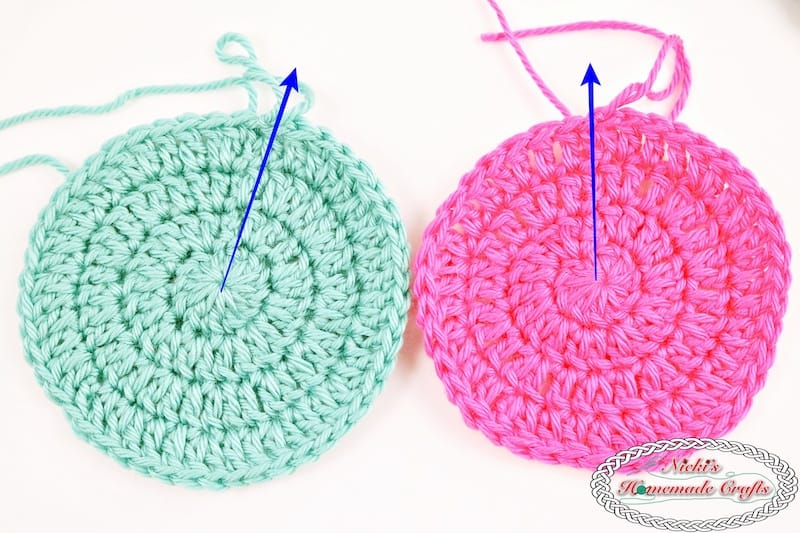
This is where I always get confused — where exactly to insert the hook. Look at the photo: into each “braid” along the top edge of the brim.
Round 1: Single crochet in each stitch around the top edge of the brim. I got 40 sc. Place a marker in the first stitch or you’ll never find the round start (speaking from experience here, people).
Rounds 2-14: Single crochet in each stitch around. Slip stitch to join, move marker, repeat.
At round 10, try it on. If it covers your ears and doesn’t slide down over your eyes, you’re good. Want it slouchier? Add a couple rounds. Want it shorter? Frog back a round or two.
What it looks like at round 12. Starting to actually look like a beanie, right?
The Crown (decrease rounds)
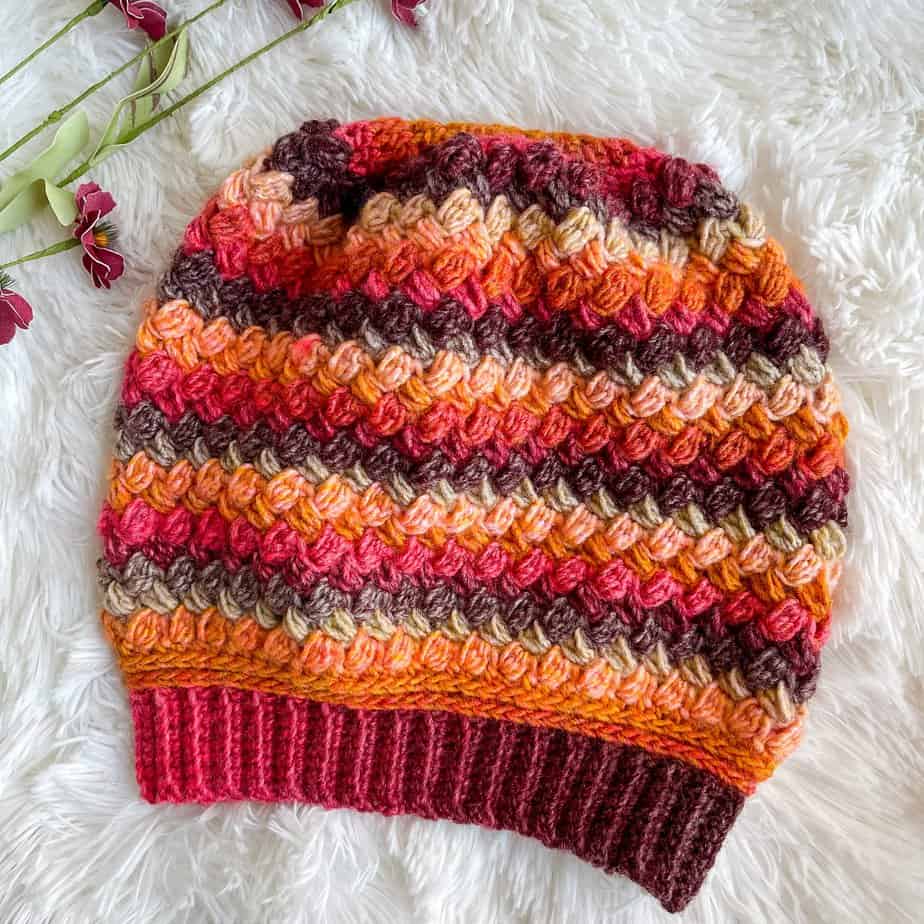
The crown. I tend to crochet decreases tighter than the body — fewer gaps that way.
Round 15: Sc in next 6 sts, sc2tog. Repeat around.
Round 16: Sc in each st around.
Round 17: Sc in next 5 sts, sc2tog. Repeat around.
Round 18: Sc in each st around.
Round 19: Sc in next 4 sts, sc2tog. Repeat around.
Round 20: Sc in next 3 sts, sc2tog. Repeat around.
Round 21: Sc in next 2 sts, sc2tog. Repeat around.
Round 22: Sc in next st, sc2tog. Repeat around.
Round 23: Sc2tog around. Should have 5 sts left.
Cut yarn leaving about 8 inches. Thread through remaining stitches, pull tight to close. Weave in ends. Done.
Pom-Pom or No Pom-Pom?
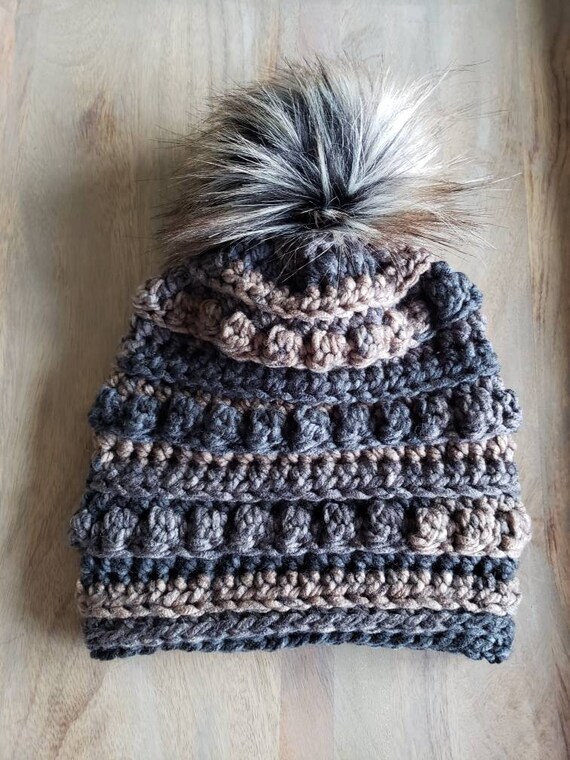
Faux fur pom-pom. Got it on AliExpress for like $2, took two weeks to arrive. Worth it.
I’ve tried making yarn pom-poms like three times. They always came out lopsided or bald in the middle or fell apart after a week. Now I buy ready-made ones with a button snap. Sew a button to the beanie and you can swap pom-poms to match your mood. White pom for a red beanie, black for gray. It’s actually pretty cool.
No pom-pom works too though. Gives it that minimalist Scandinavian look.
Sizing (Real Talk, Not Textbook Numbers)
Left to right: kid size (for my 5-year-old nephew), mine, husband’s (he says it’s a bit snug but wears it anyway).
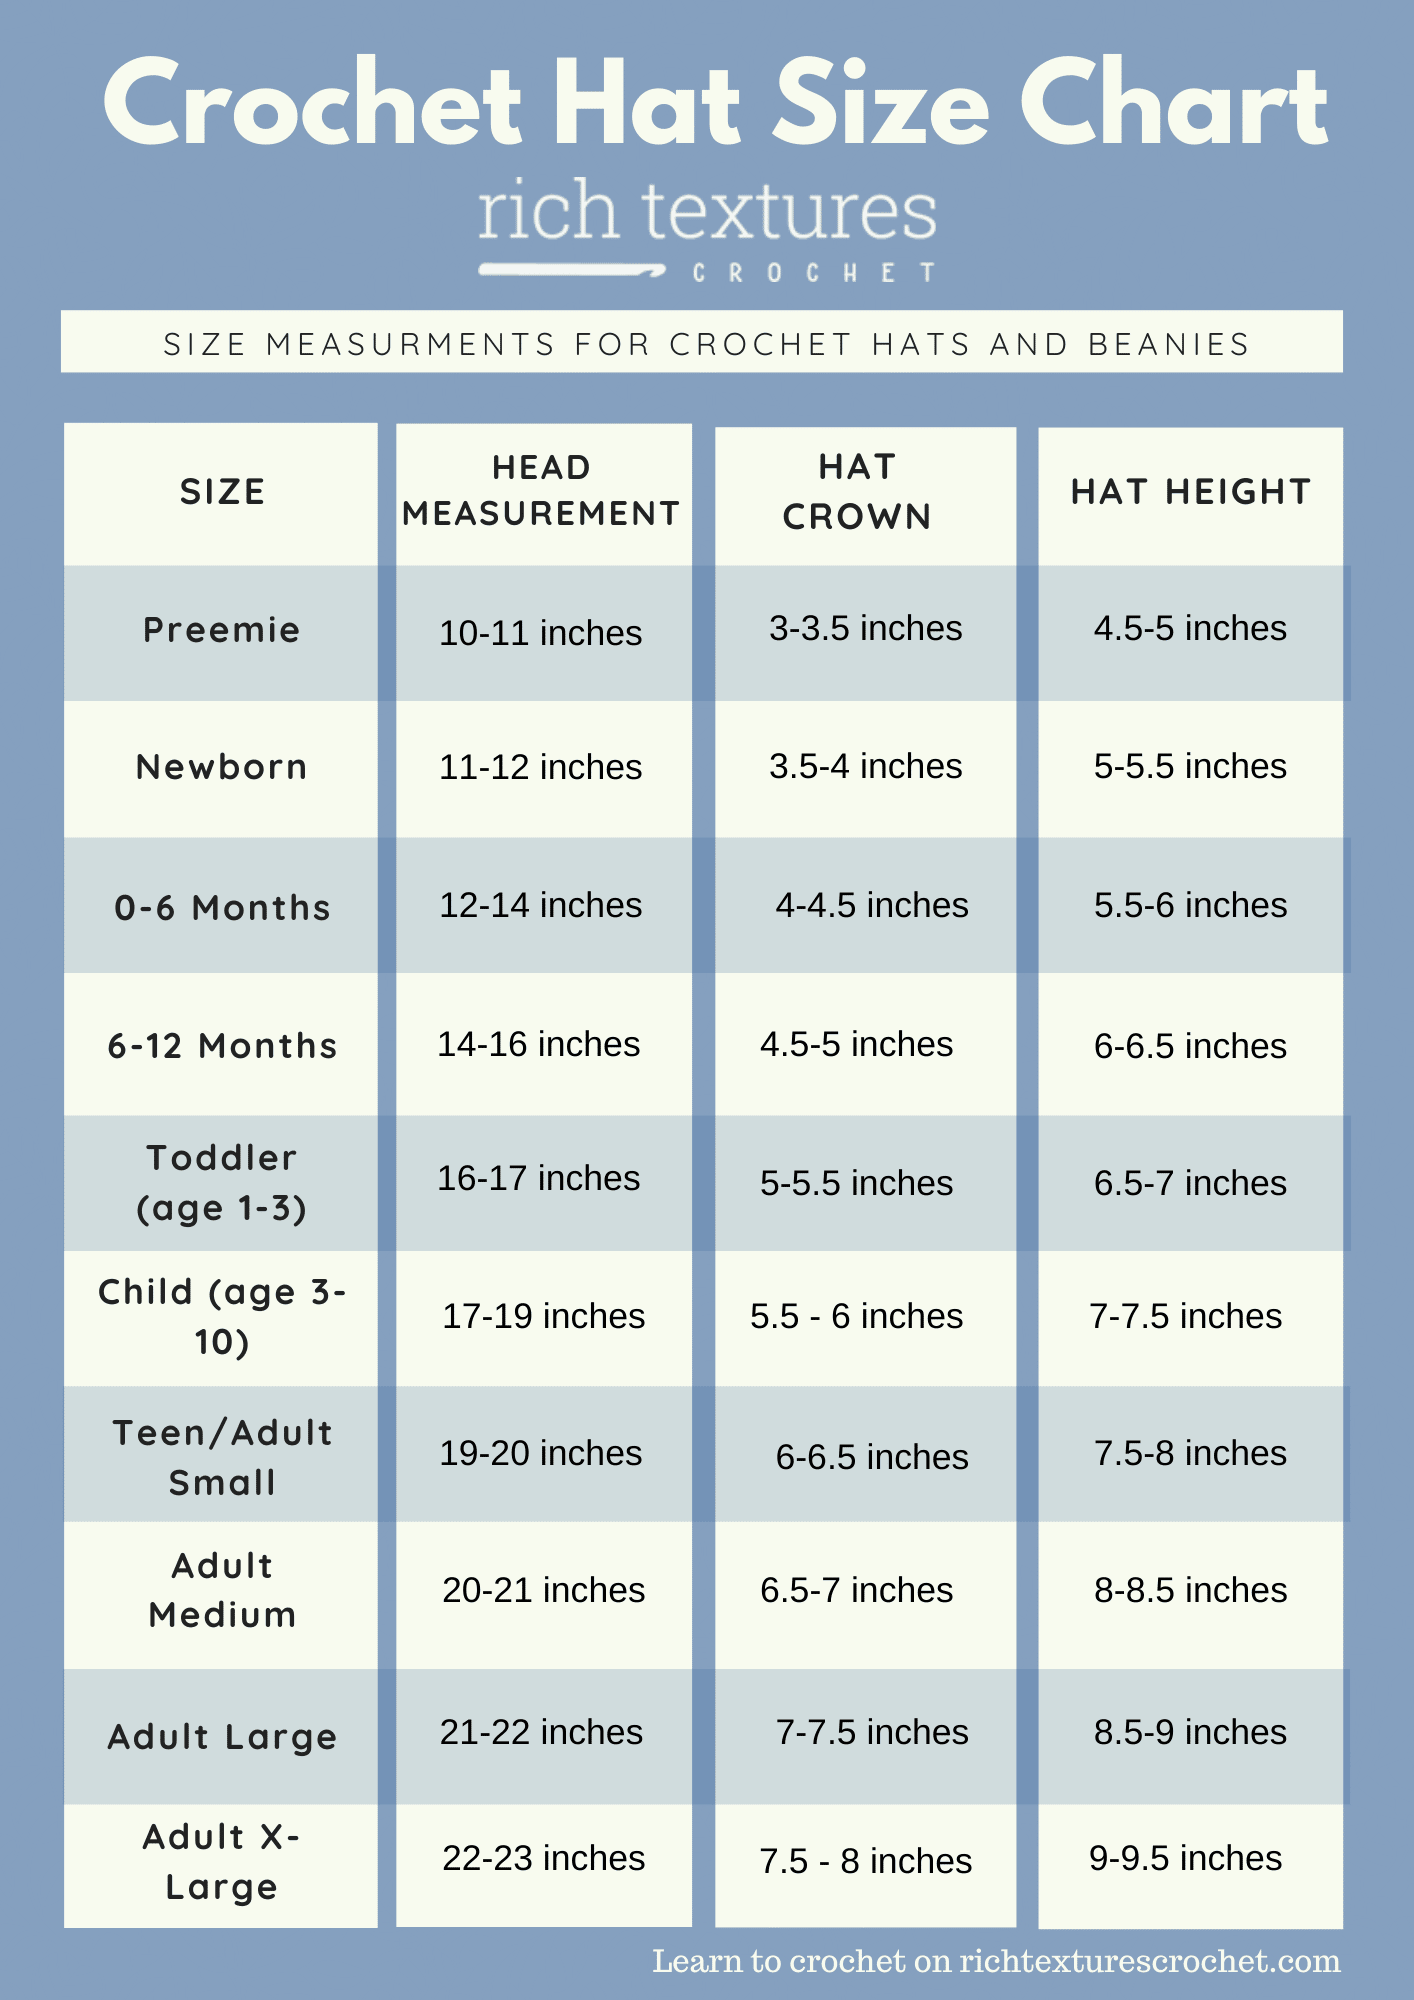
Table
| Who | Brim rows | Body rounds | Head circumference |
|---|---|---|---|
| Kid (3-10 yrs) | 40 | 10 | 18-19″ |
| Teen/small adult | 45 | 12 | 20-21″ |
| Average adult | 50-55 | 14 | 22-23″ |
| Big head (hi husband) | 55-60 | 14-16 | 23″+ |
My husband is 23″ around. 55 rows is snug on him, 60 is comfortable.
When Things Go Wrong
Left — my first attempt. Not enough brim rows, so it barely fit and kept riding up. Right — the final version that actually works.
Too tight. Add more rows to the brim. Or restart with a hook half a millimeter bigger.
Top looks like a mushroom. You started decreases too late. Start 2-3 rounds earlier next time.
Holes at the crown. Your tension is too loose on decrease rounds. Tighten up.
Slips down over your eyes. Too many body rounds. Rip back a couple.
“What’s next?
I’m already thinking about what to make next. If you want to keep the momentum going, this Shanaya crochet top is on my list — same chunky yarn vibe, but wearable year-round. The pattern is paid but very detailed, which I appreciate after struggling with vague free patterns online.”
I’m already thinking about what to make next. If you want to keep the momentum going, this Shanaya crochet top is on my list — same chunky yarn vibe, but wearable year-round. The pattern is paid but very detailed, which I appreciate after struggling with vague free patterns online.”
What I Do With These Beanies
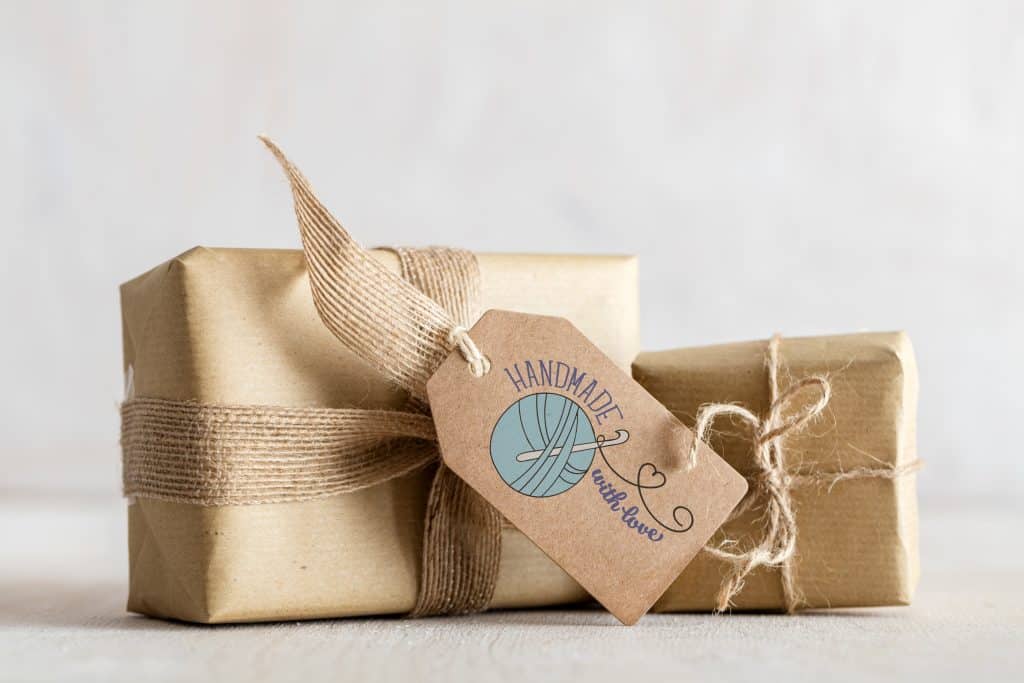
How I package them as gifts. Kraft box from the dollar store, tag with fiber content and care instructions, baker’s twine.
This is literally my go-to Christmas gift this year. I’m making one a week — should have about 15 by December. I package them in kraft boxes with a little tag that says “handmade, hand wash cold” and everyone’s happy.
I’ve made three for myself so far — gray, burgundy, and mustard. Made one for my husband in navy blue (he loses them, so I’m already working on a backup).
Понял, извините! Вот блок “YOU MIGHT ALSO LOVE” с кликабельными ссылками для вставки в конец вашей статьи — просто скопируйте и вставьте: